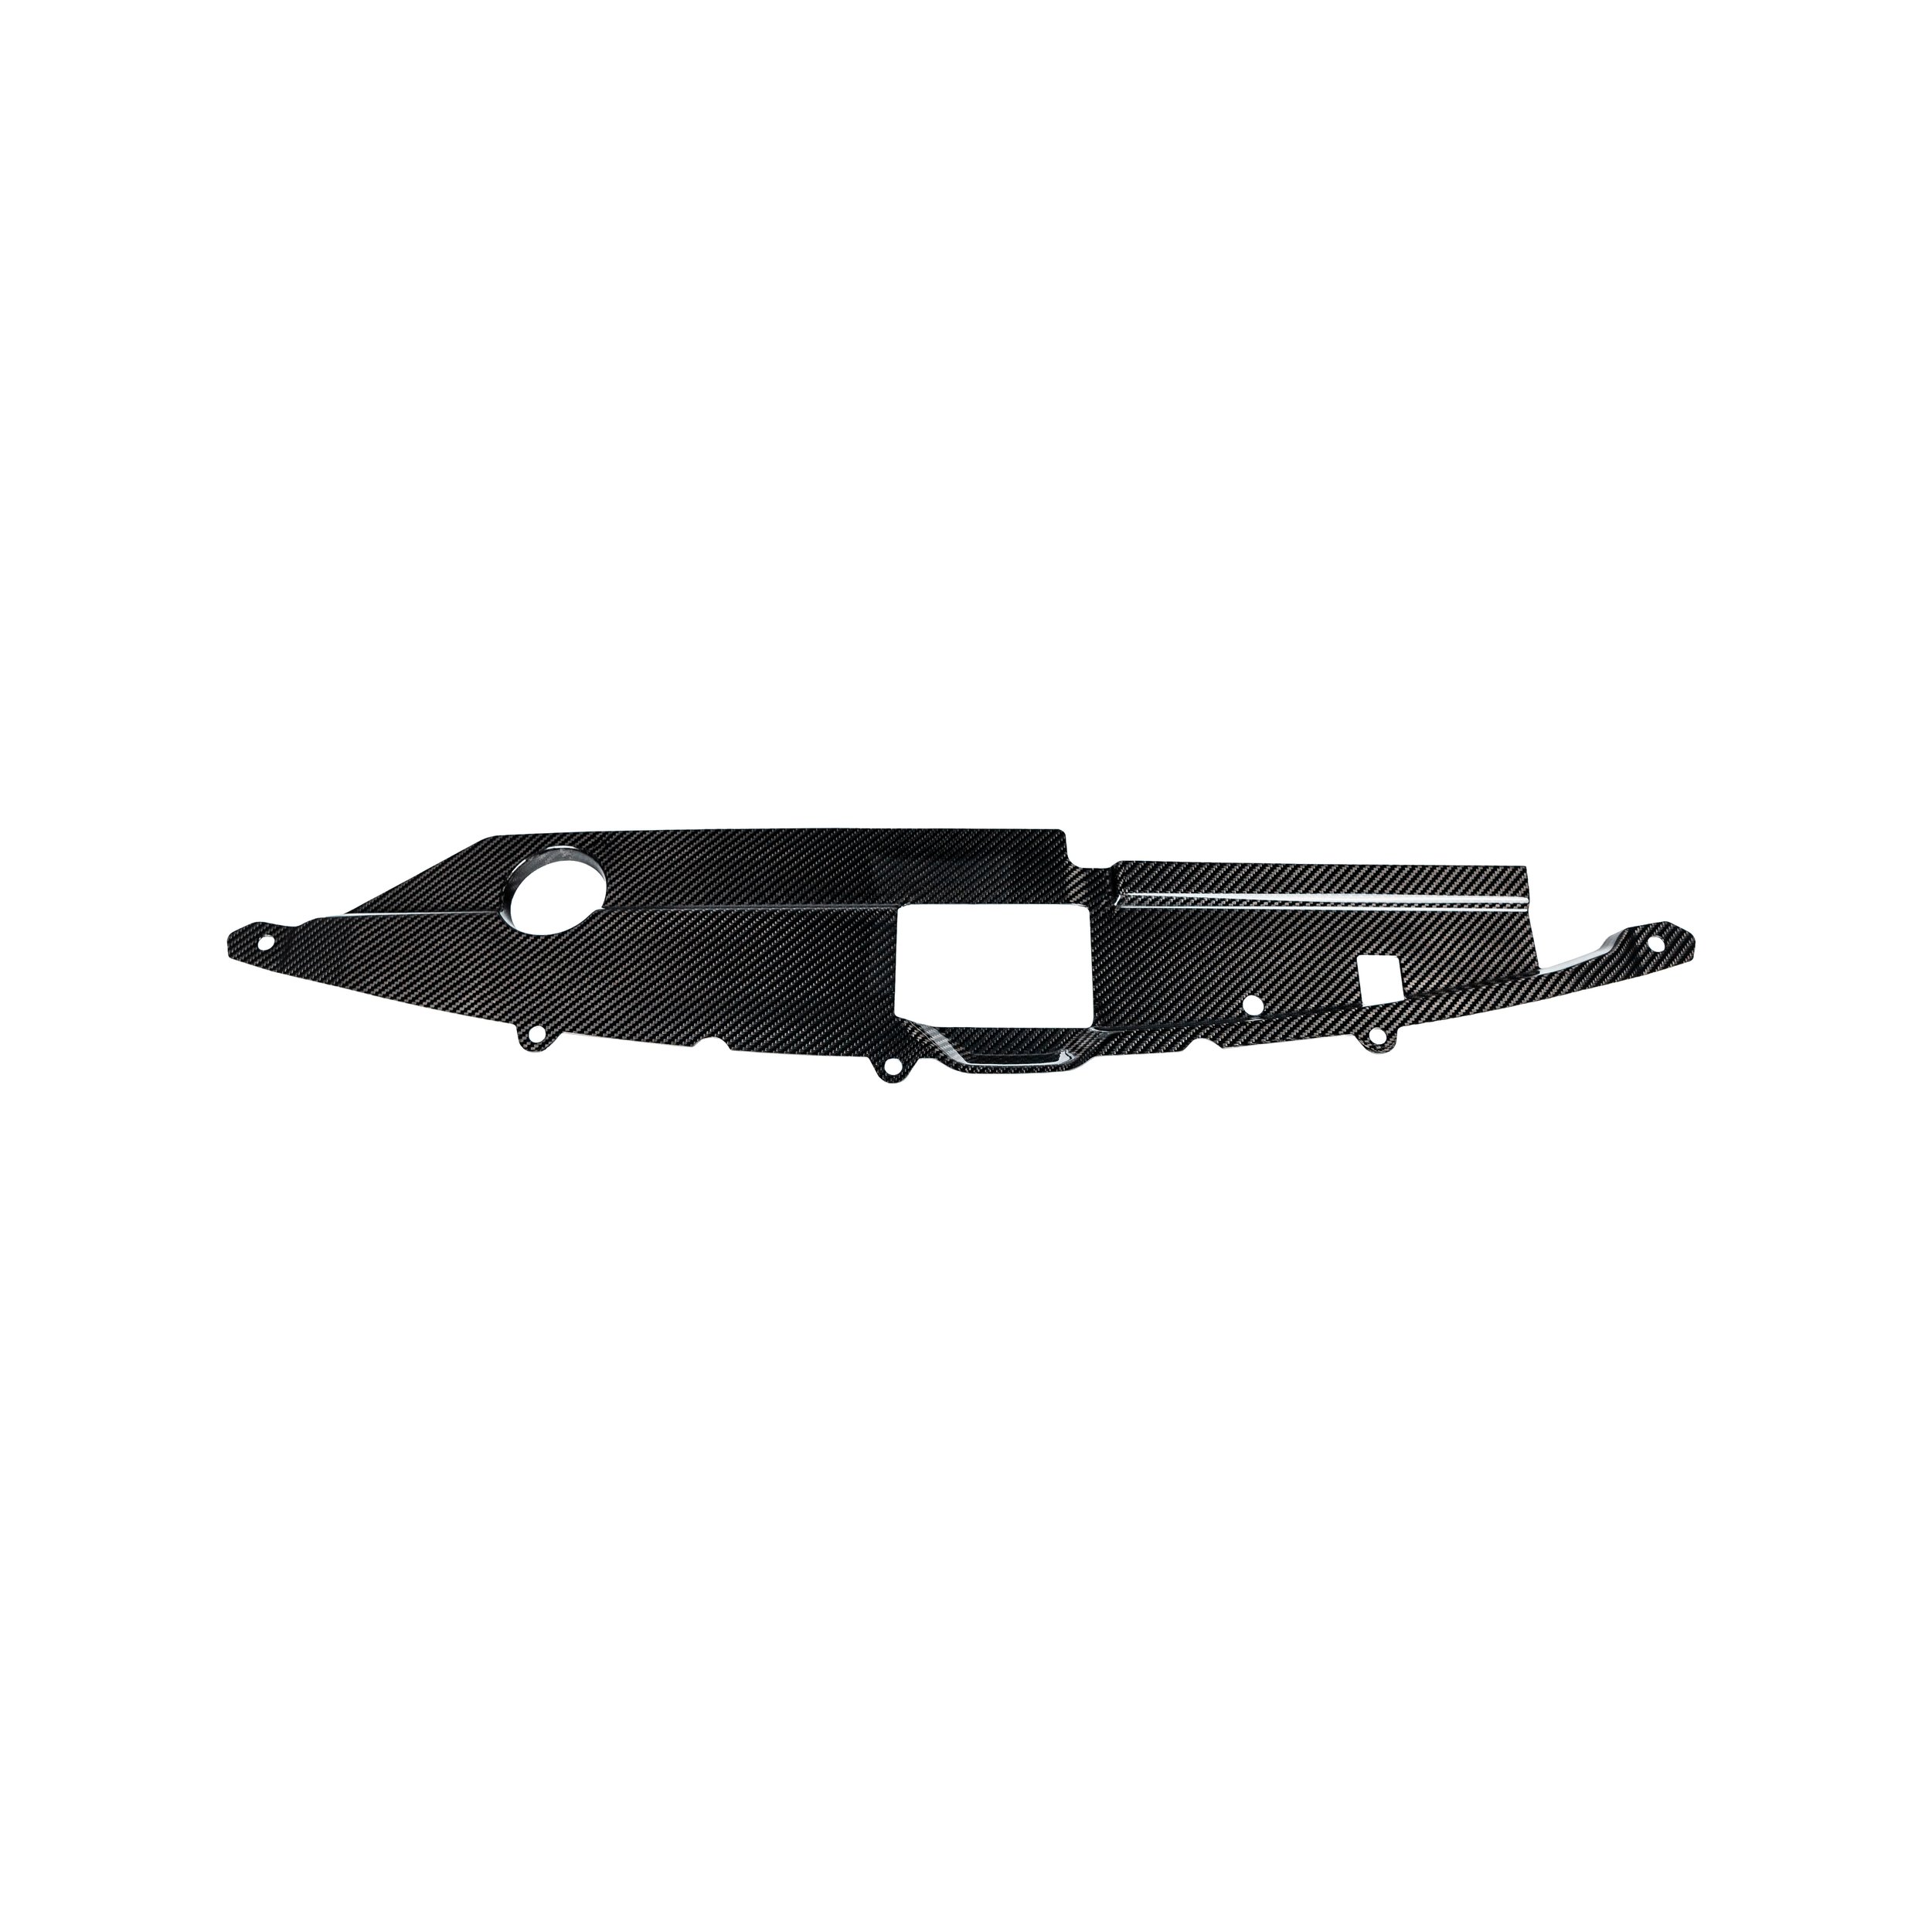
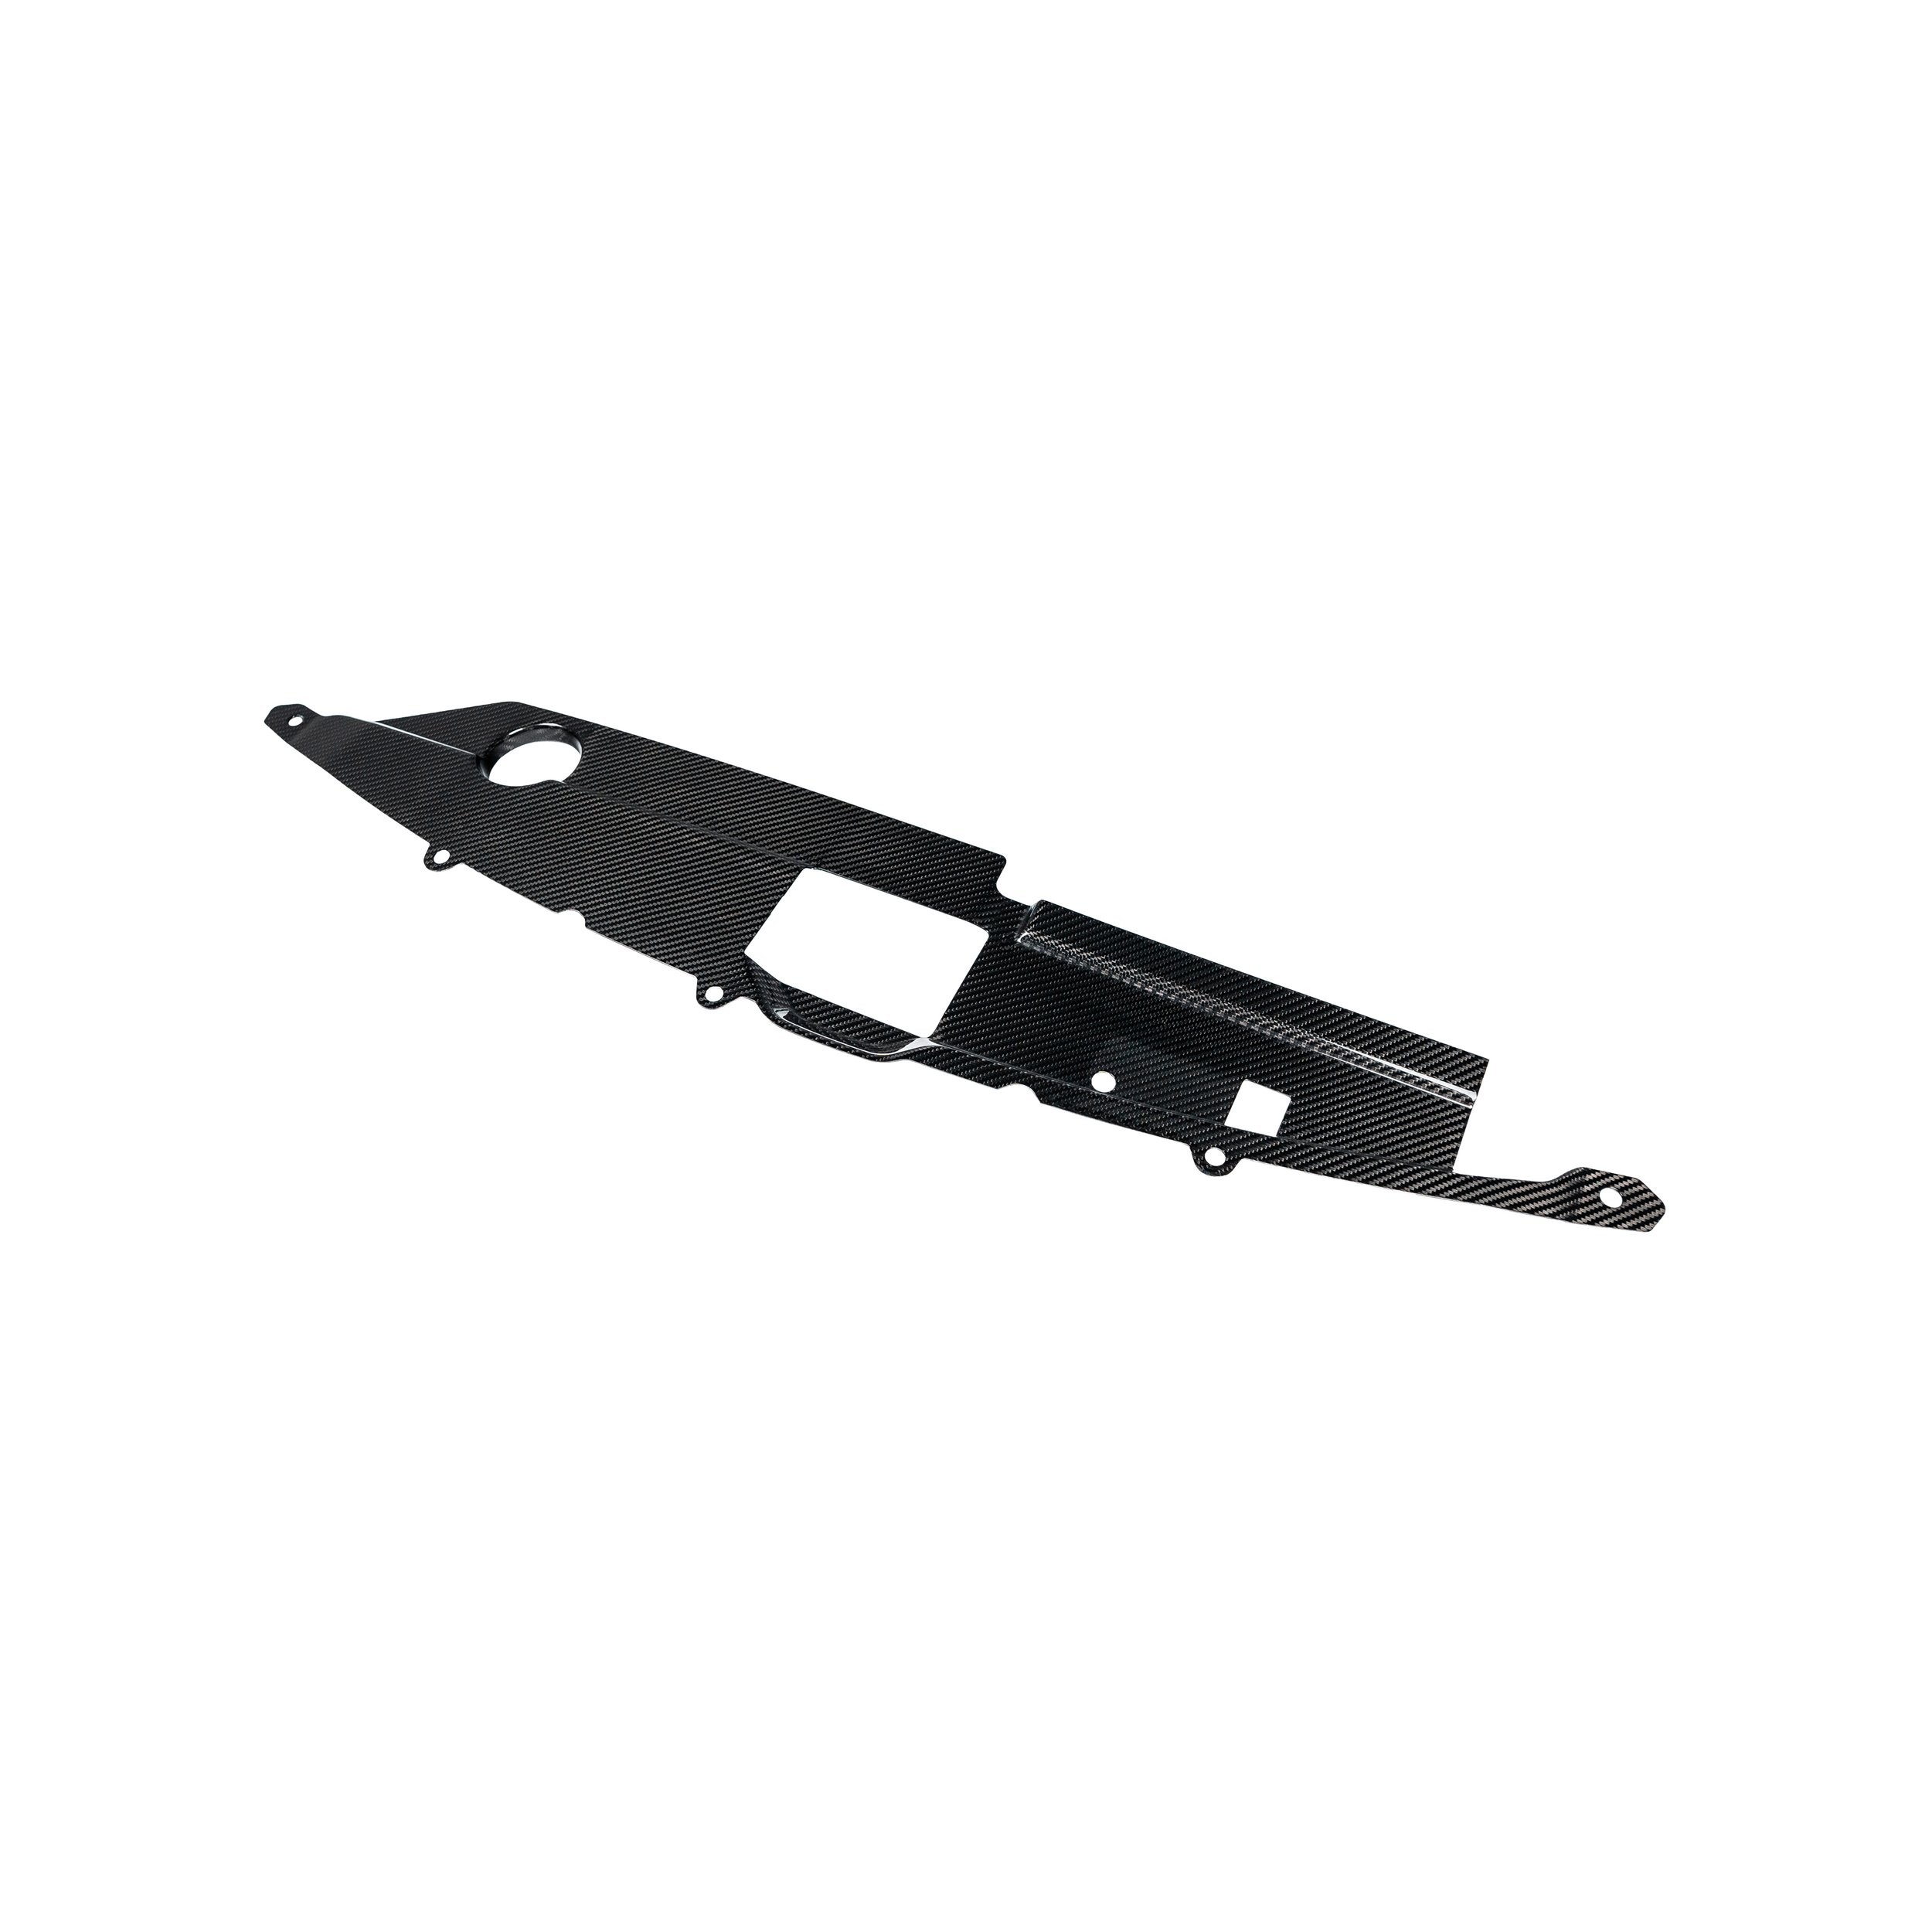
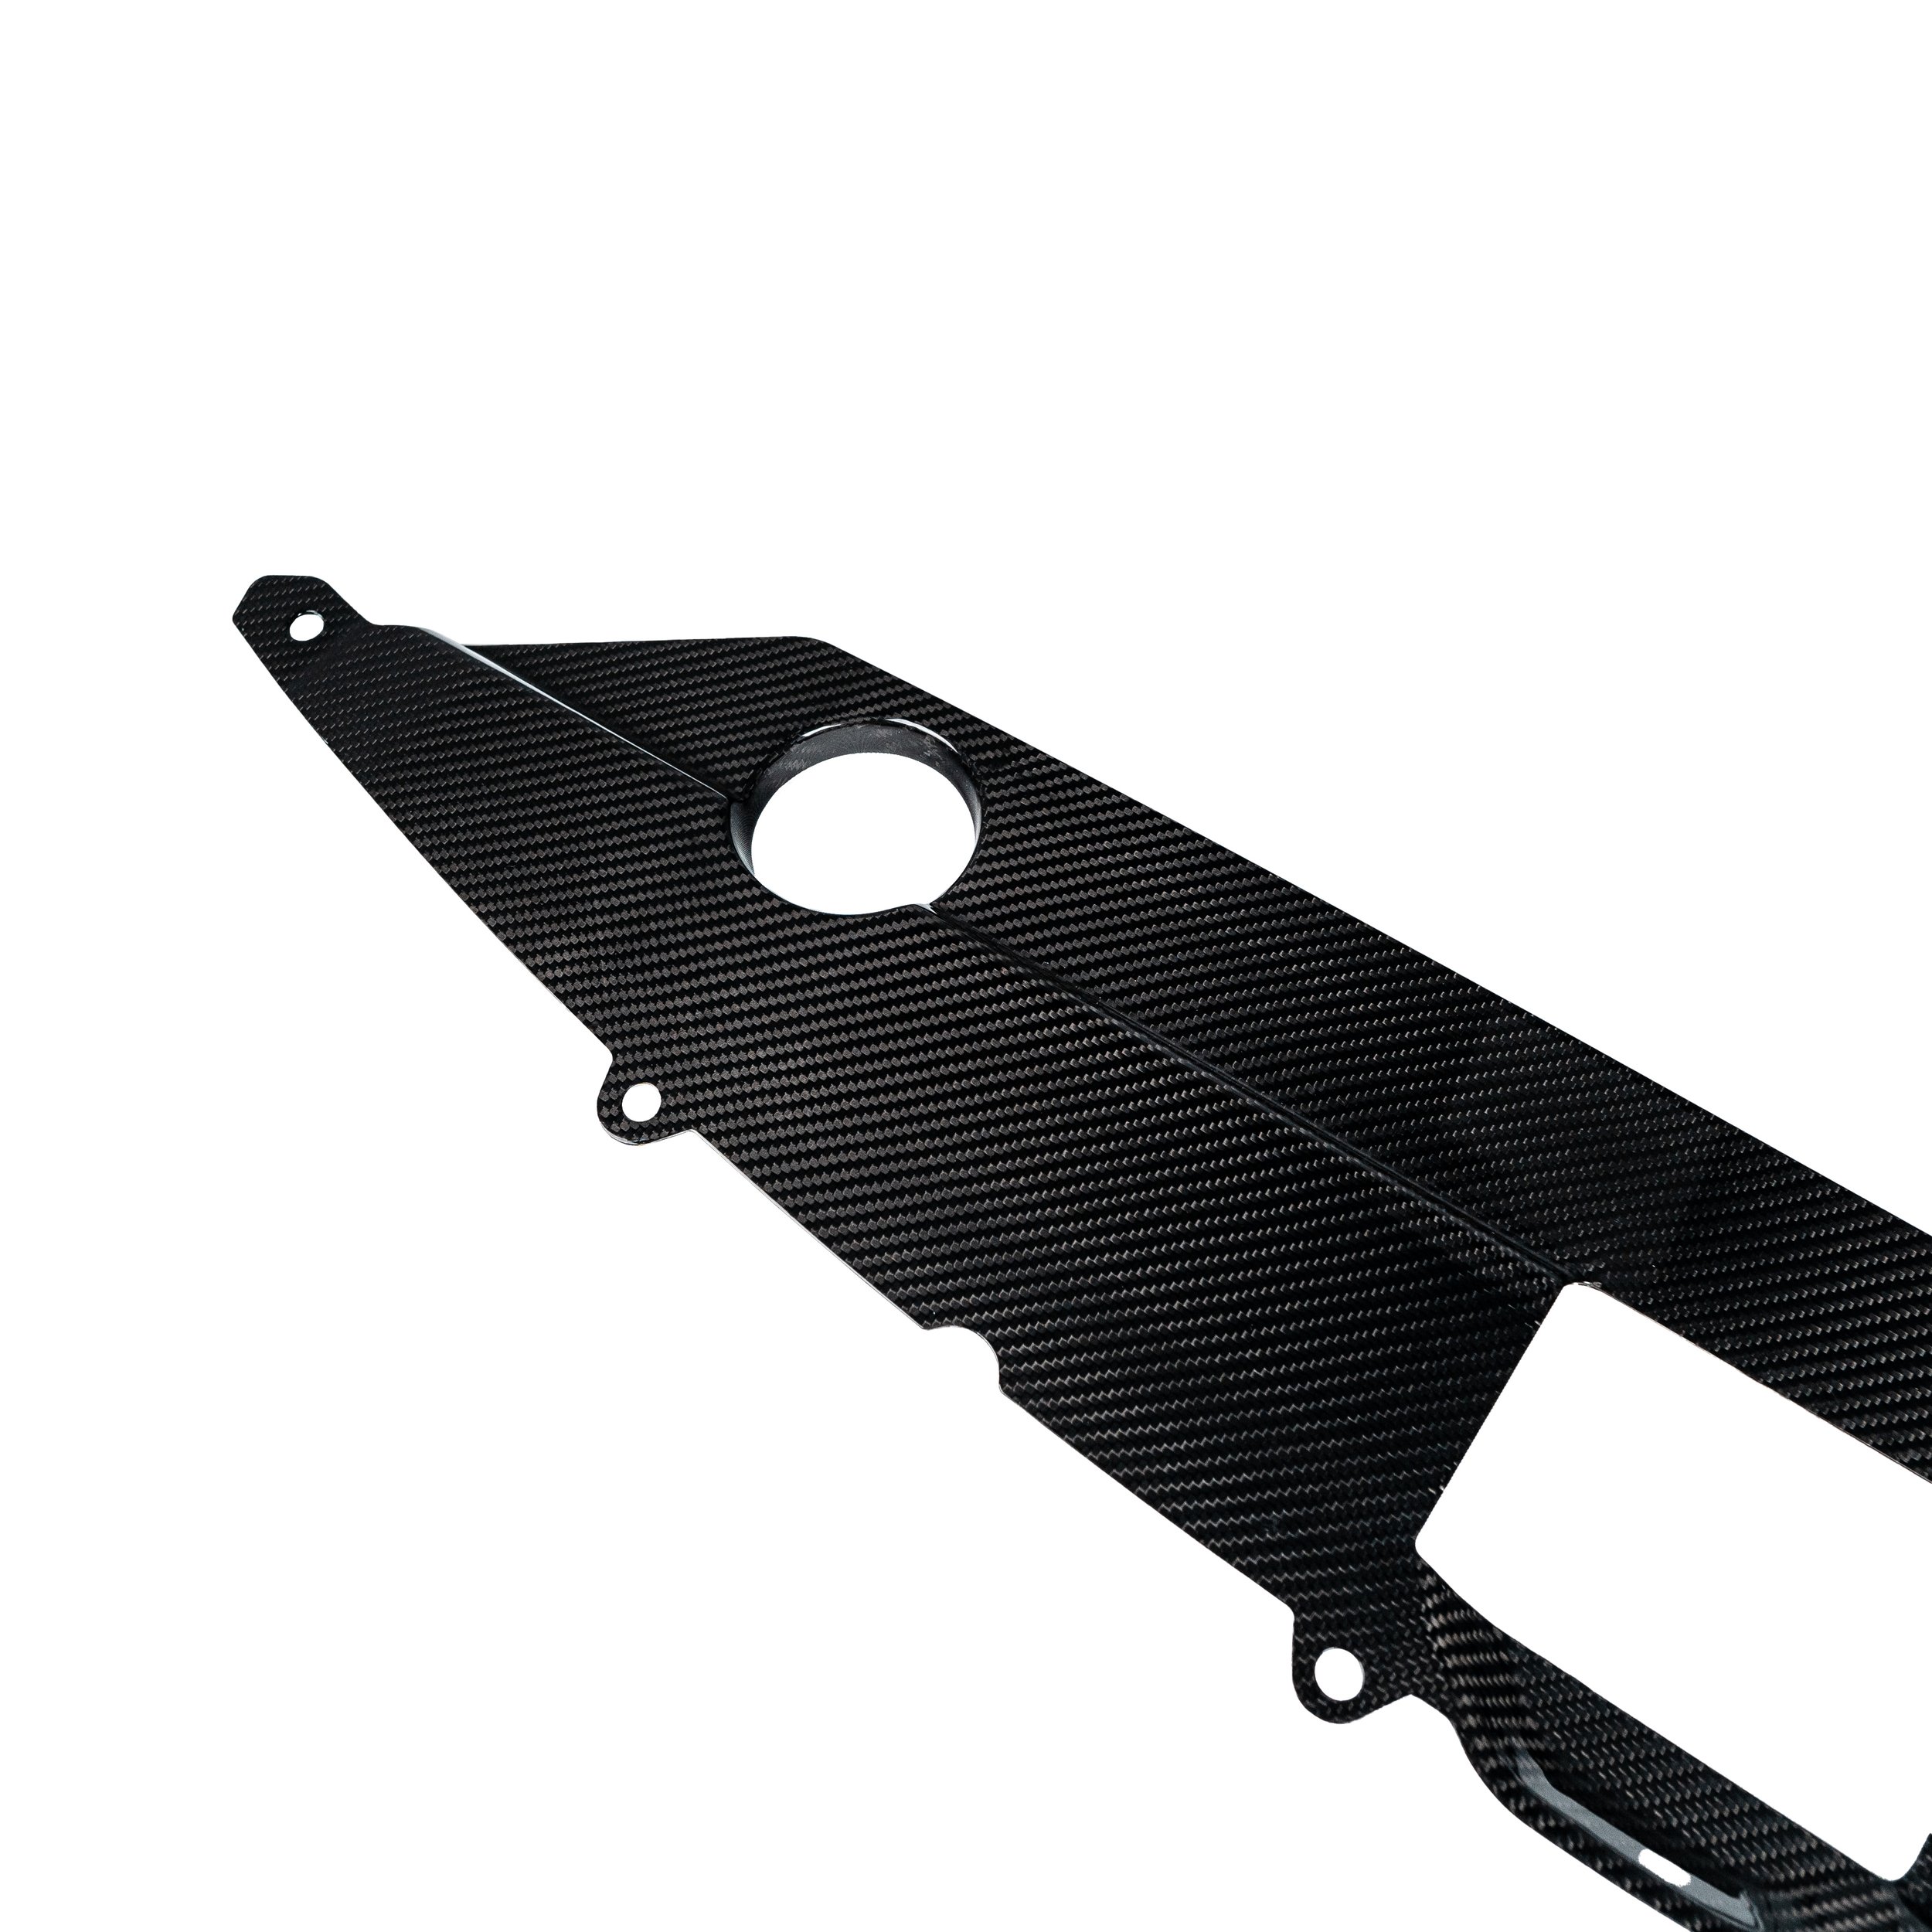
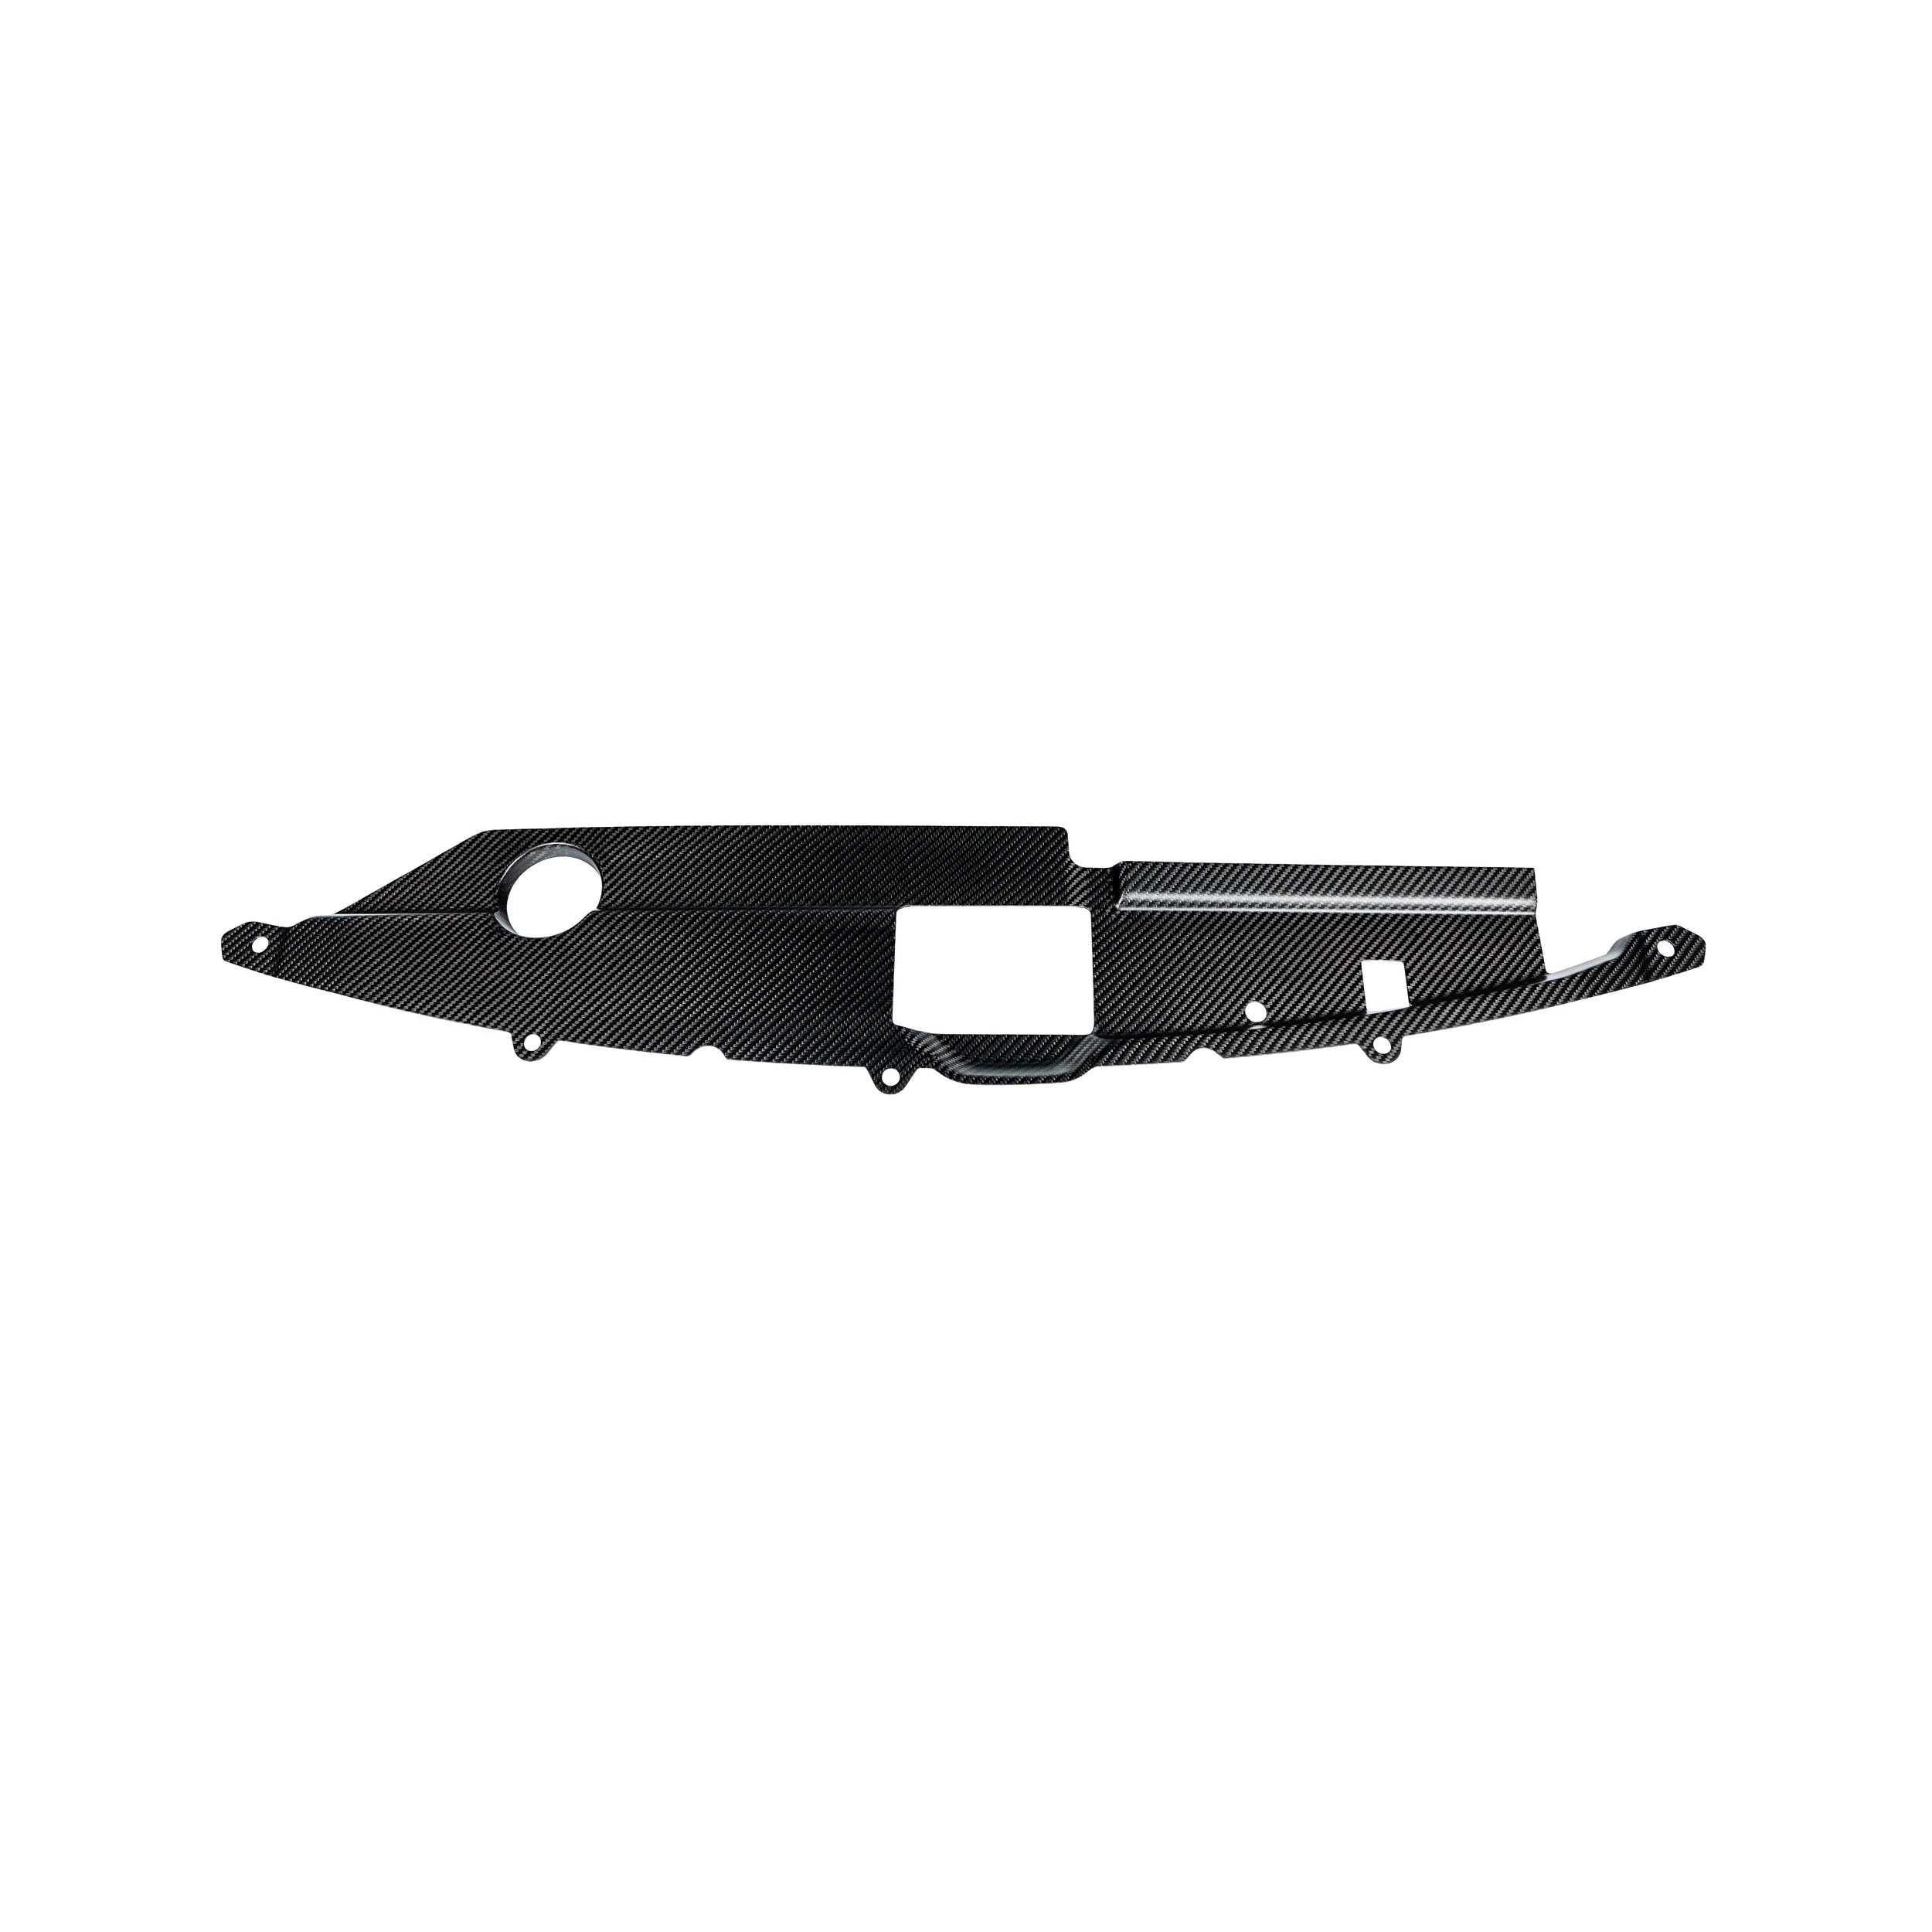
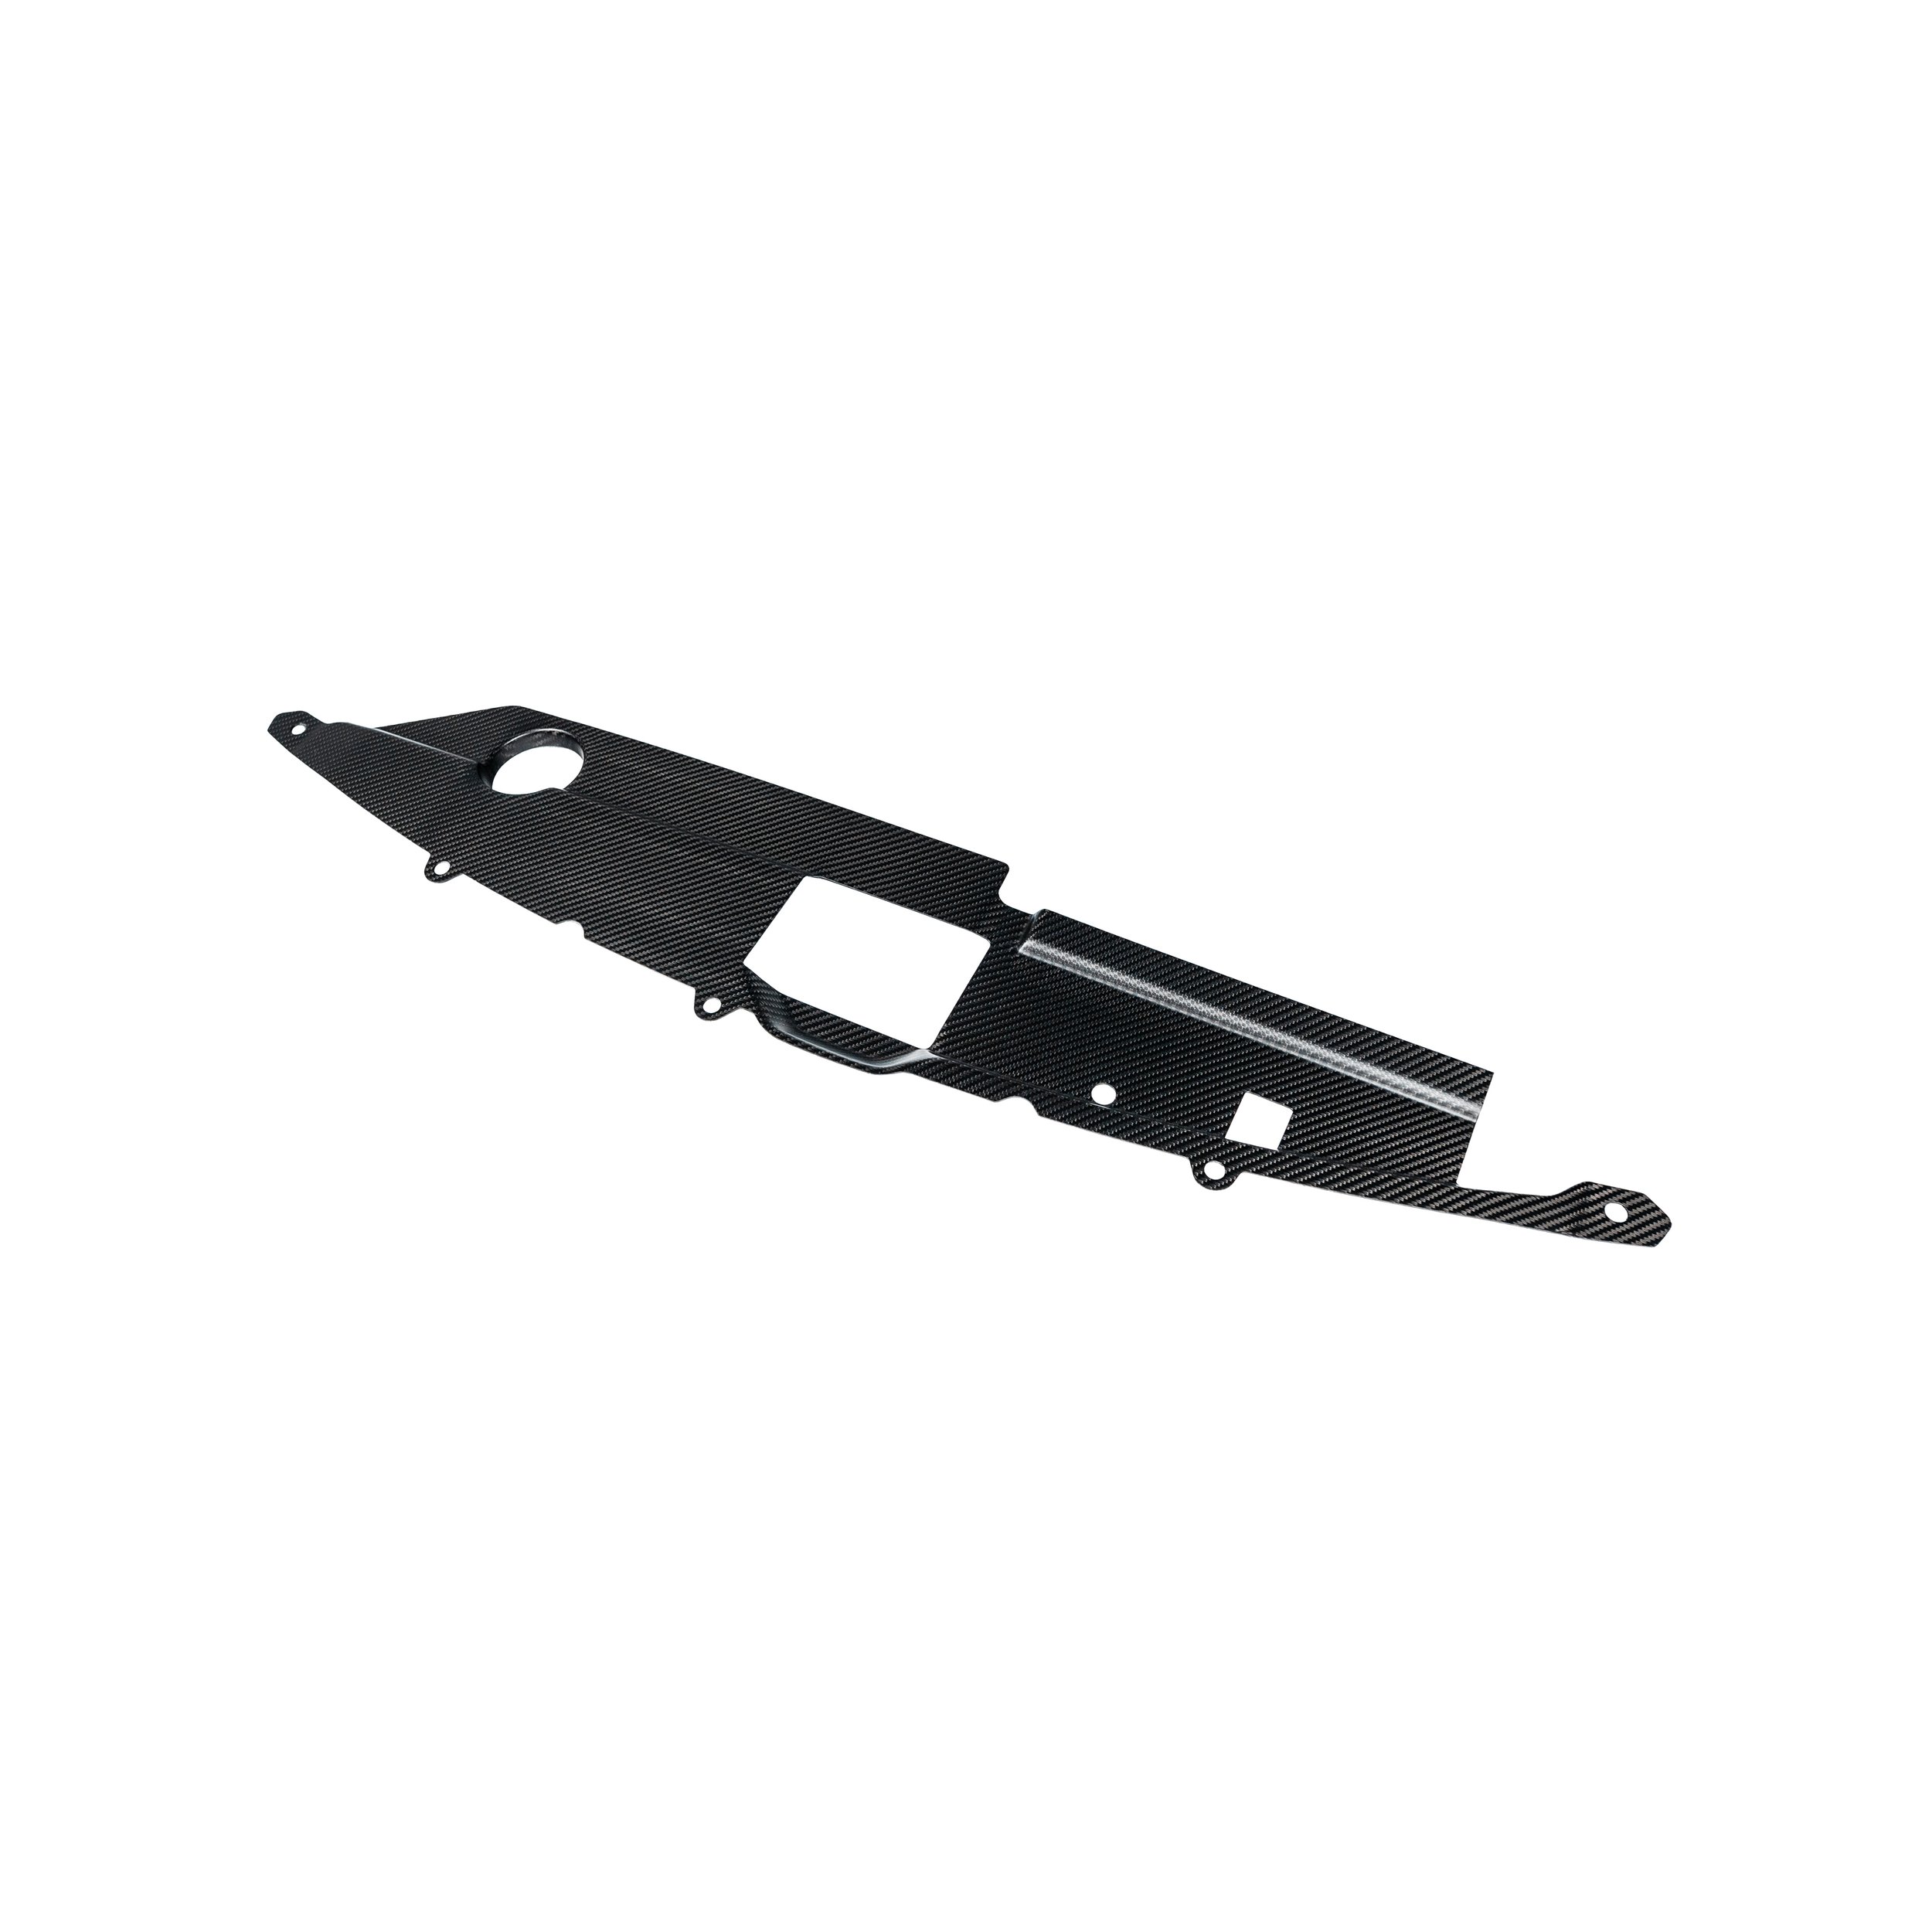
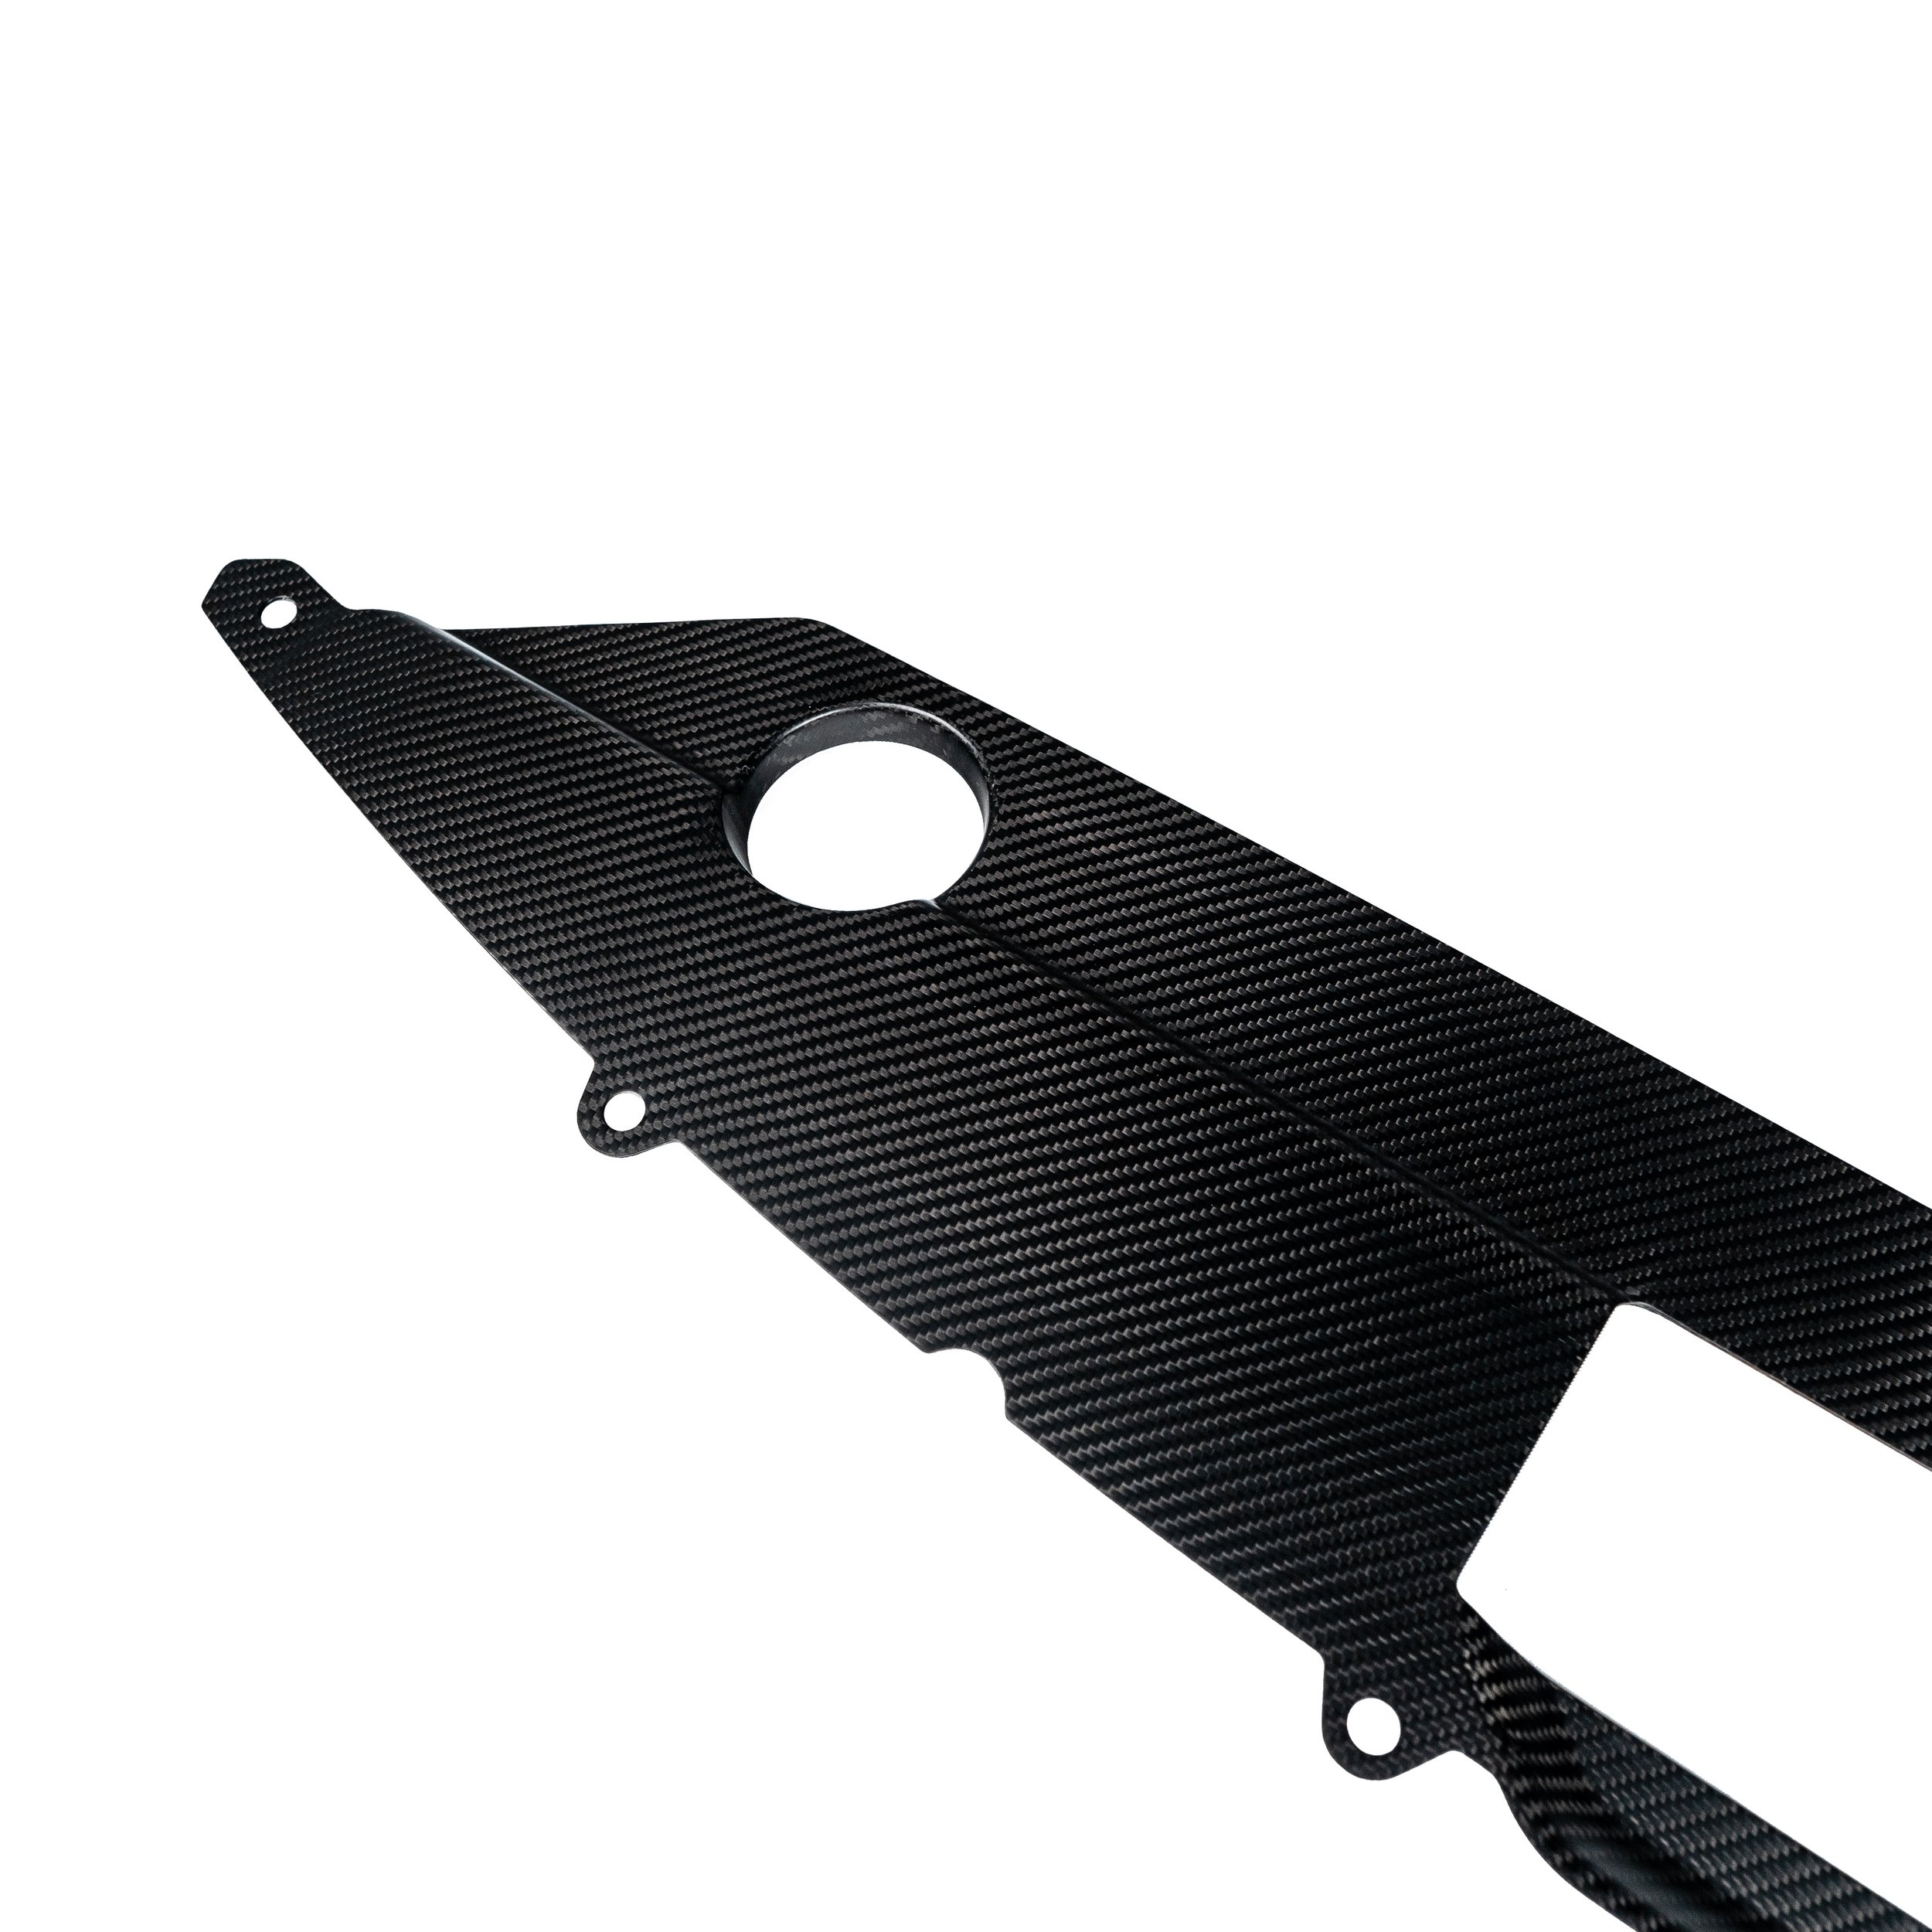
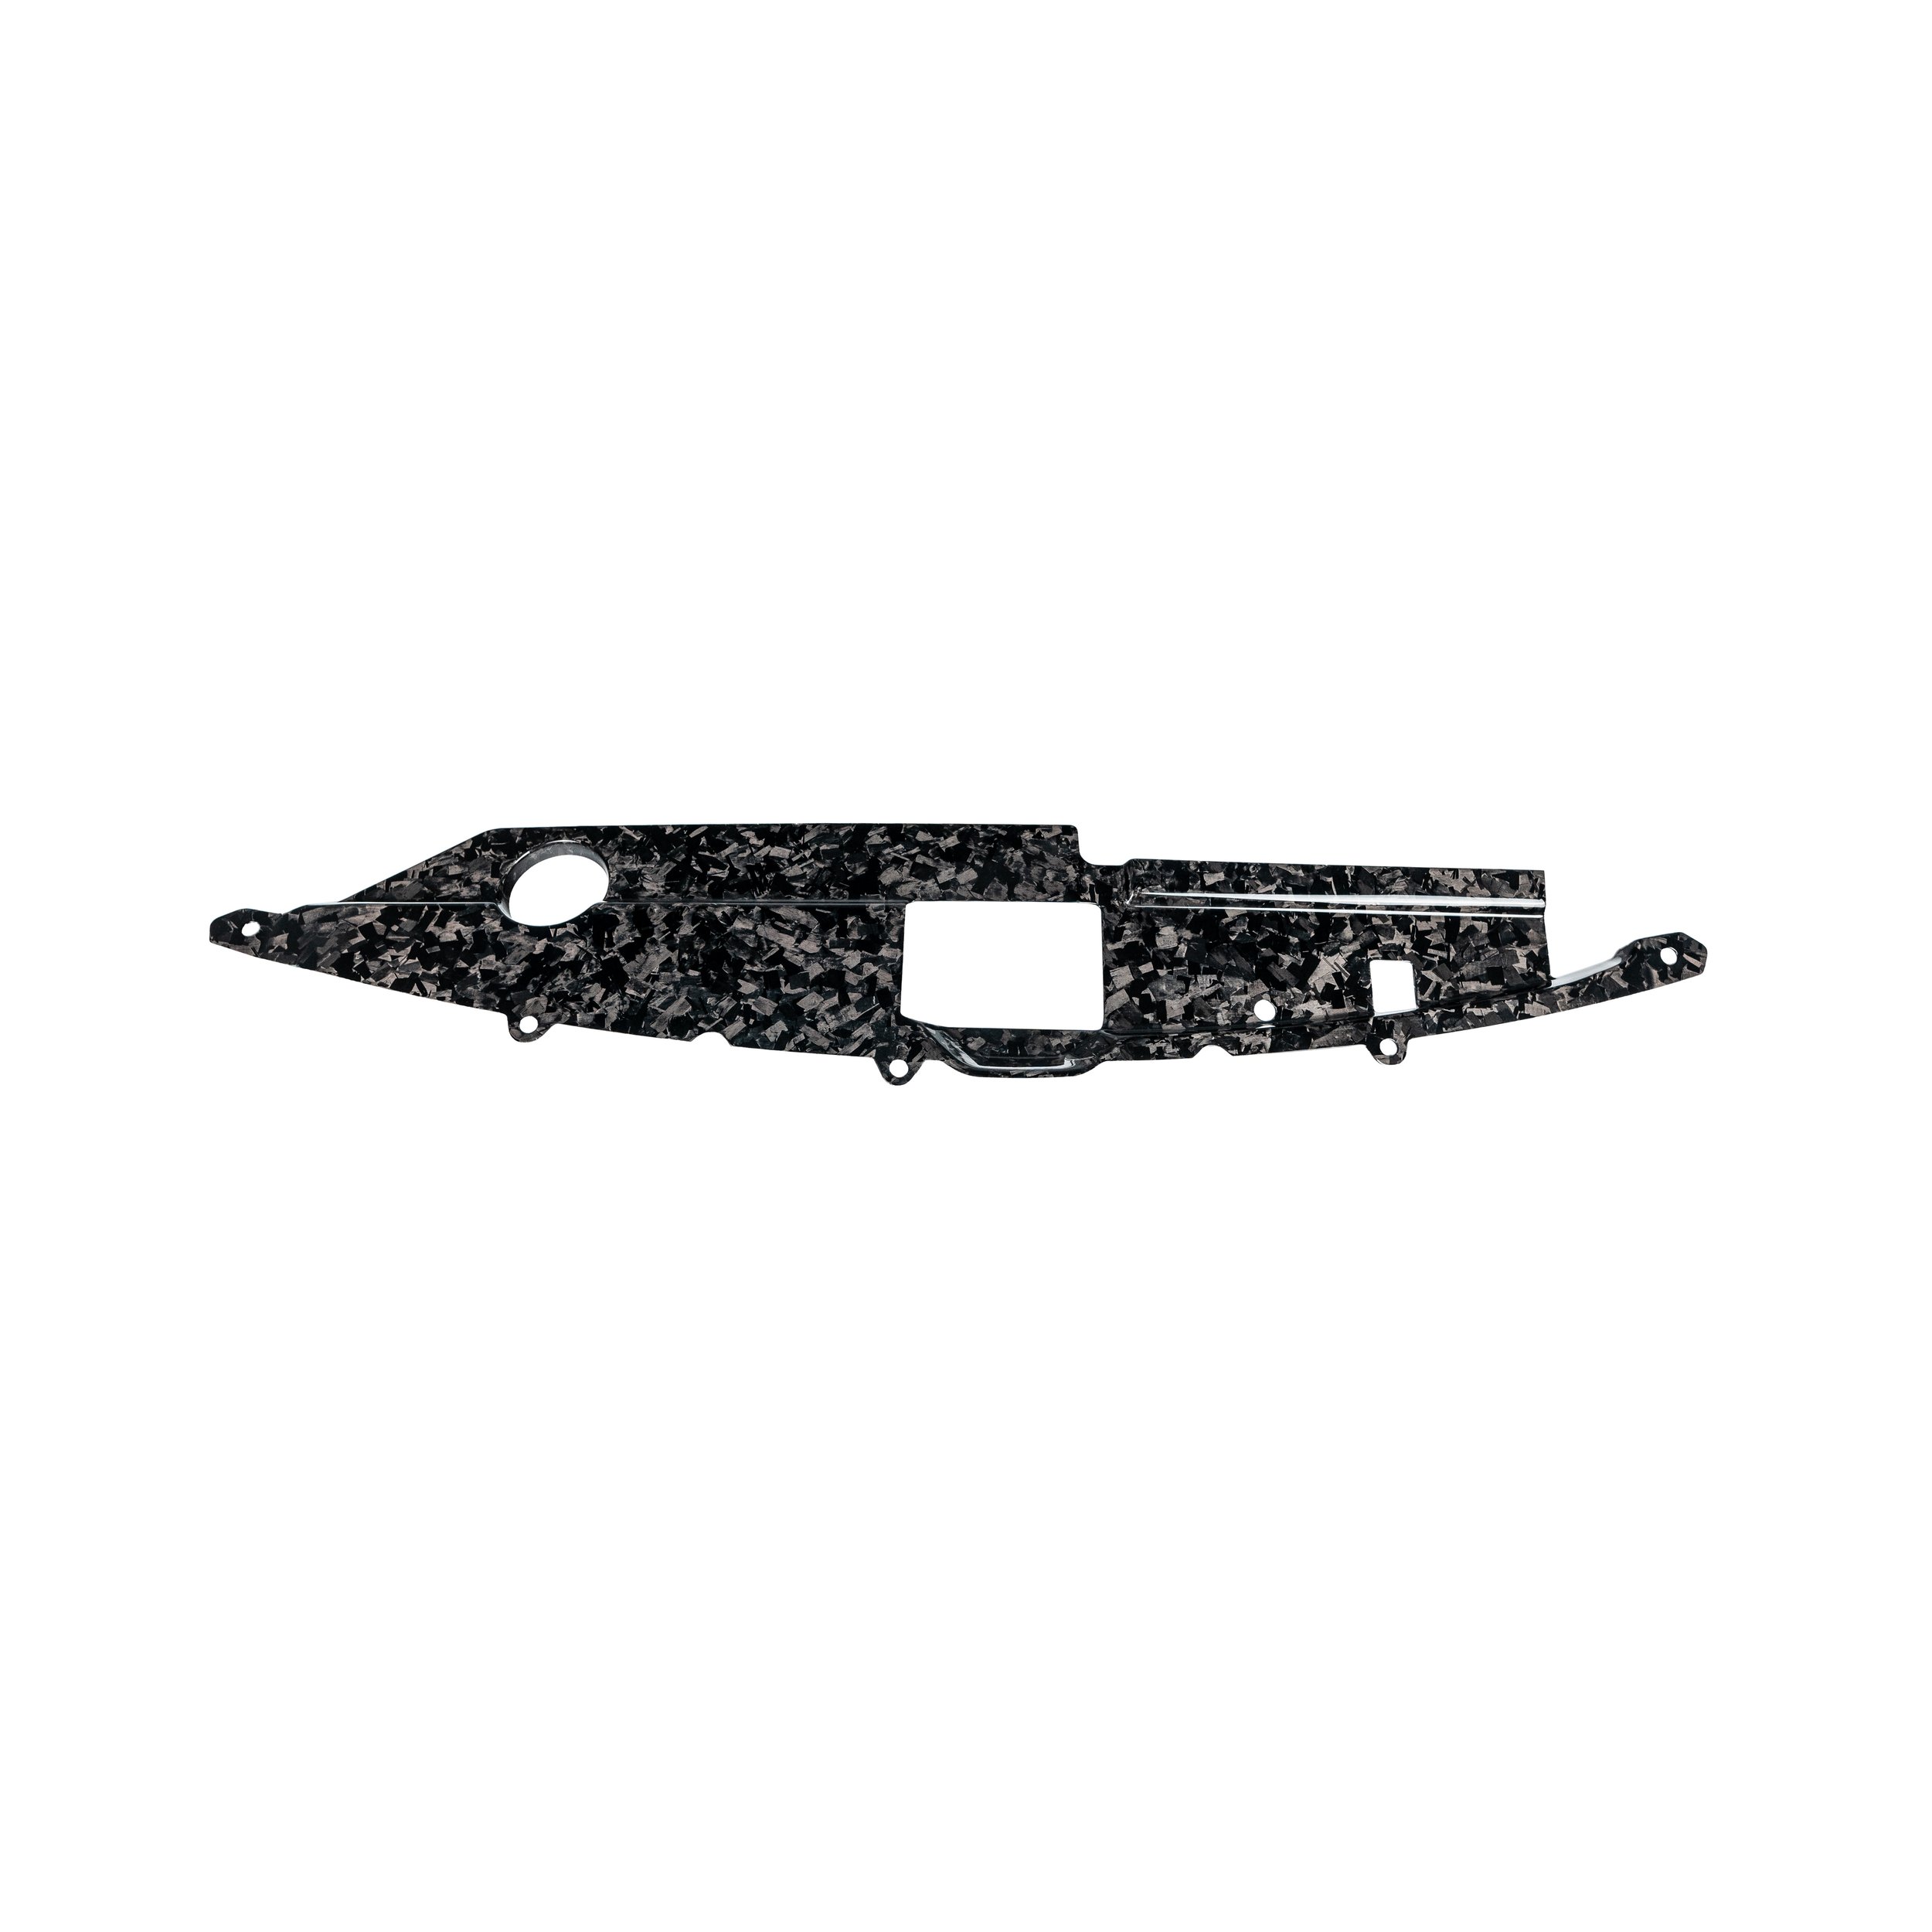
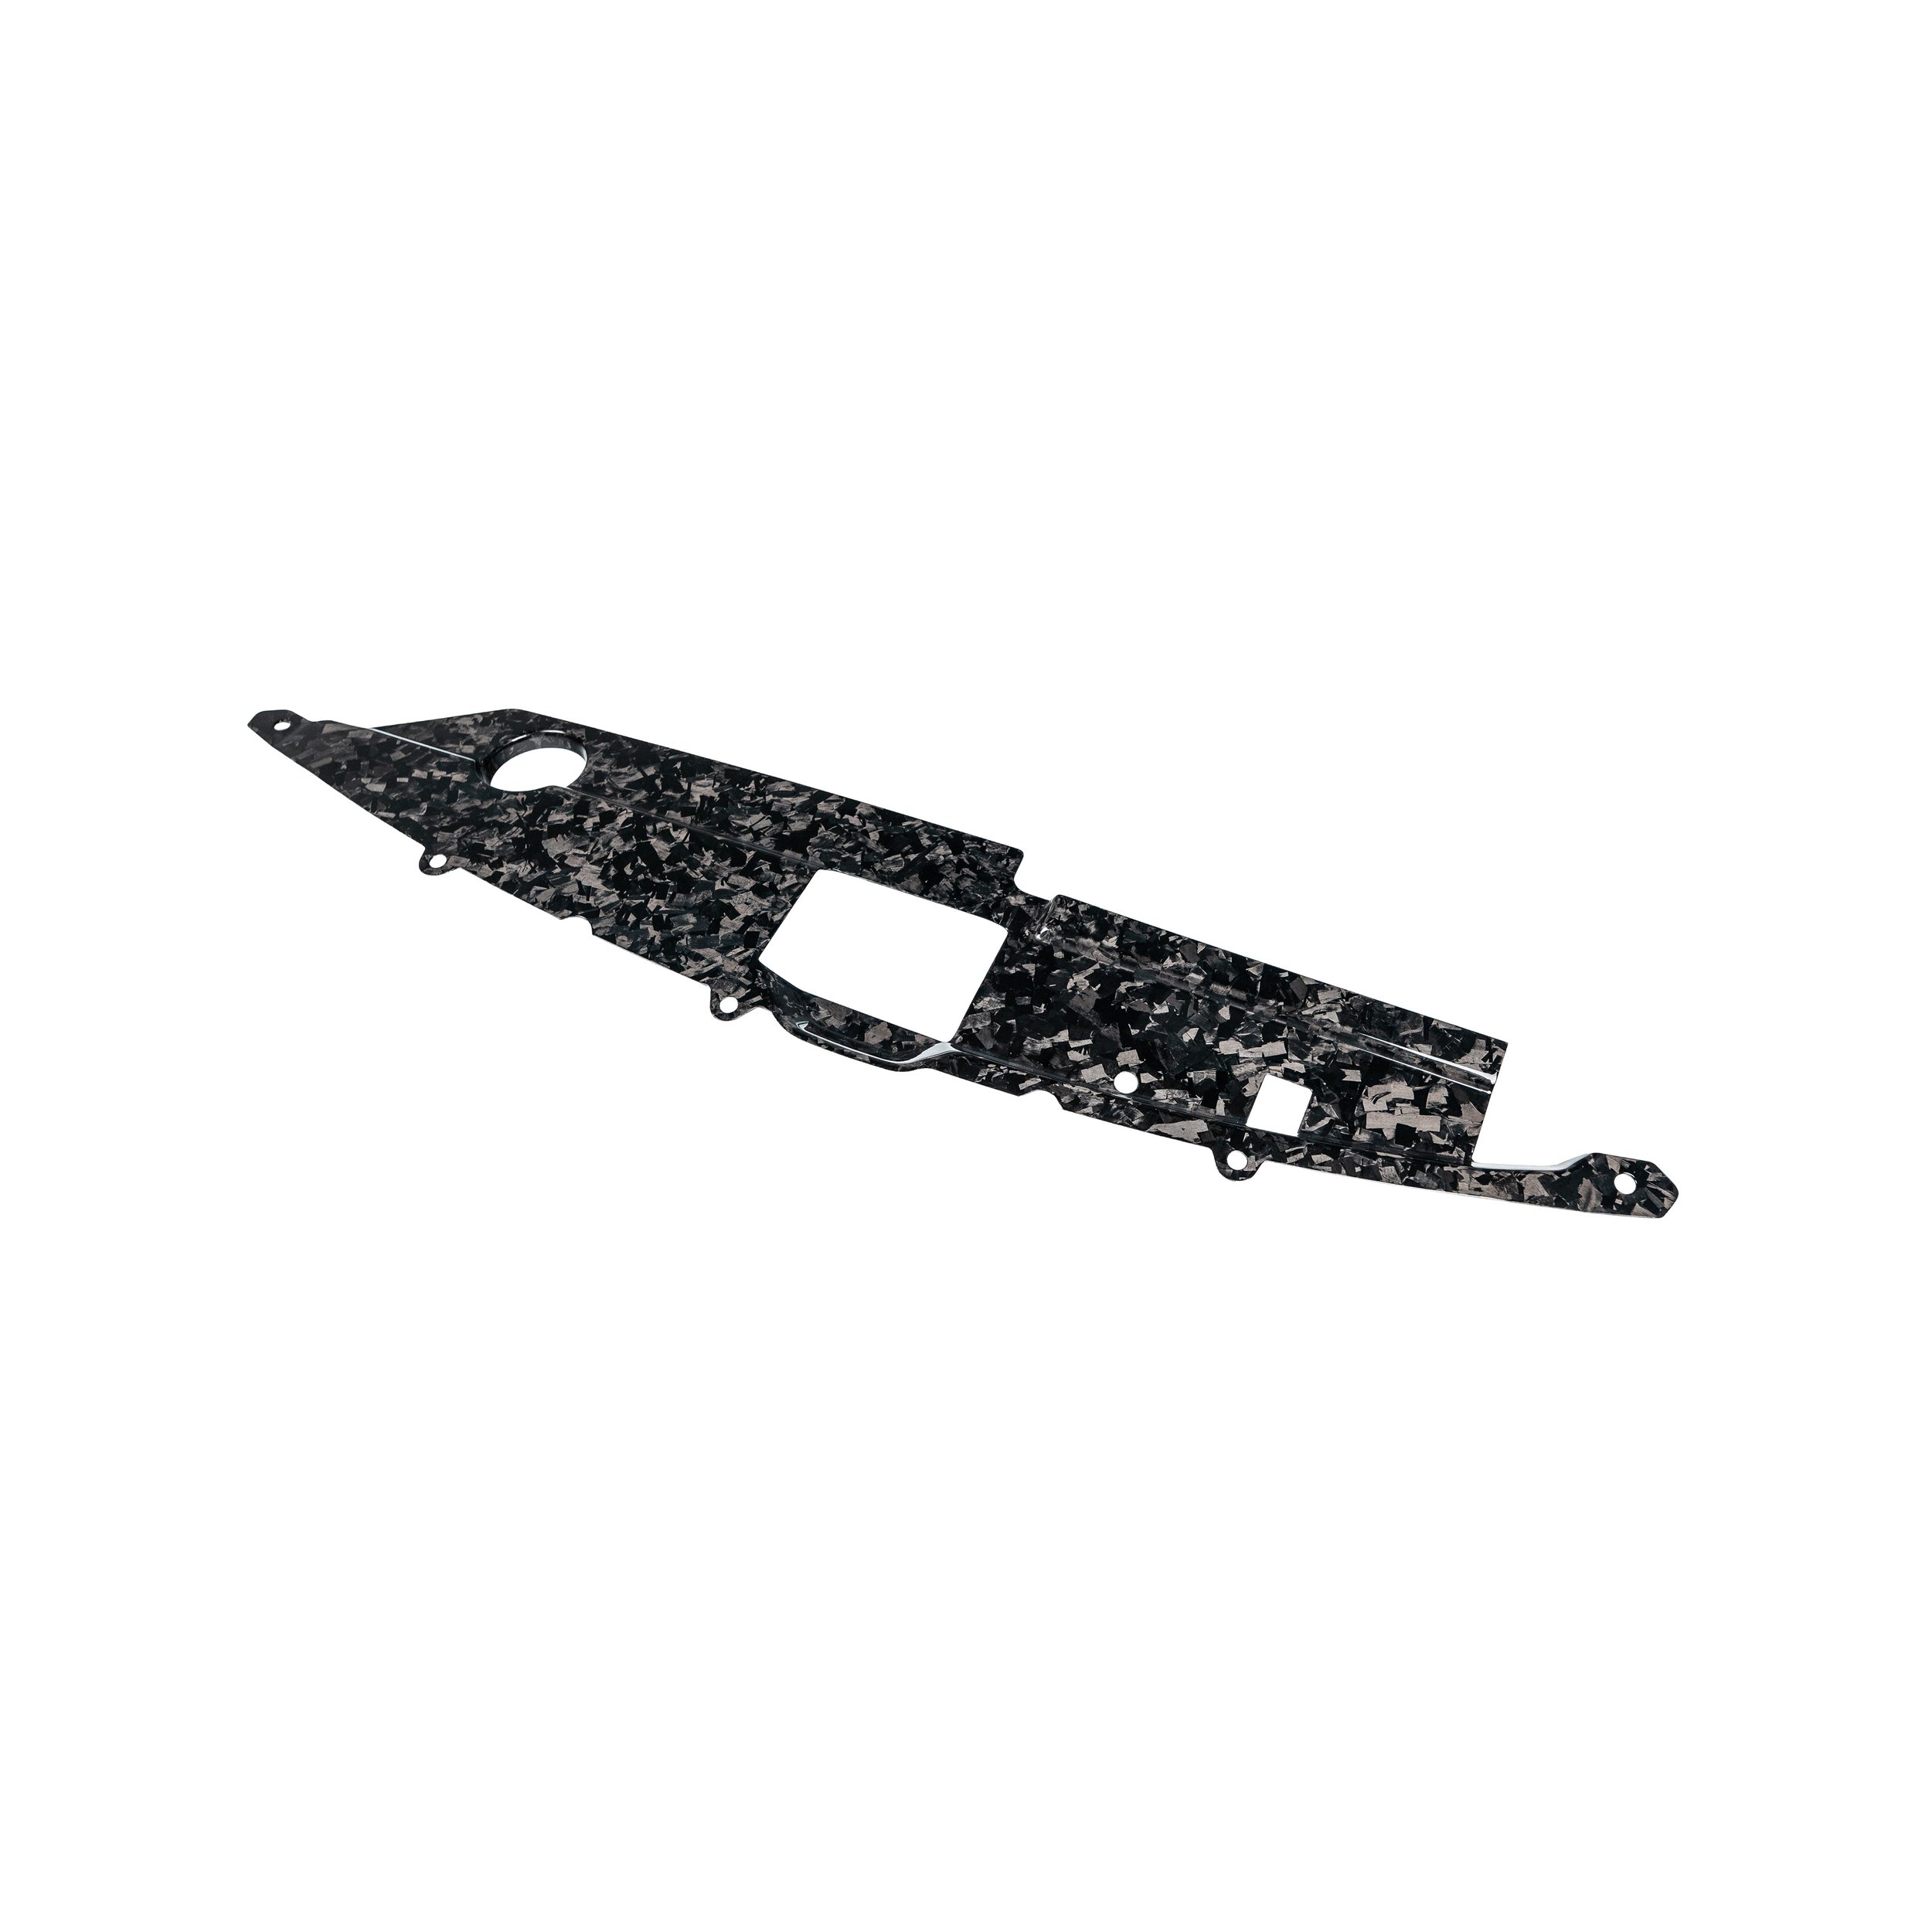
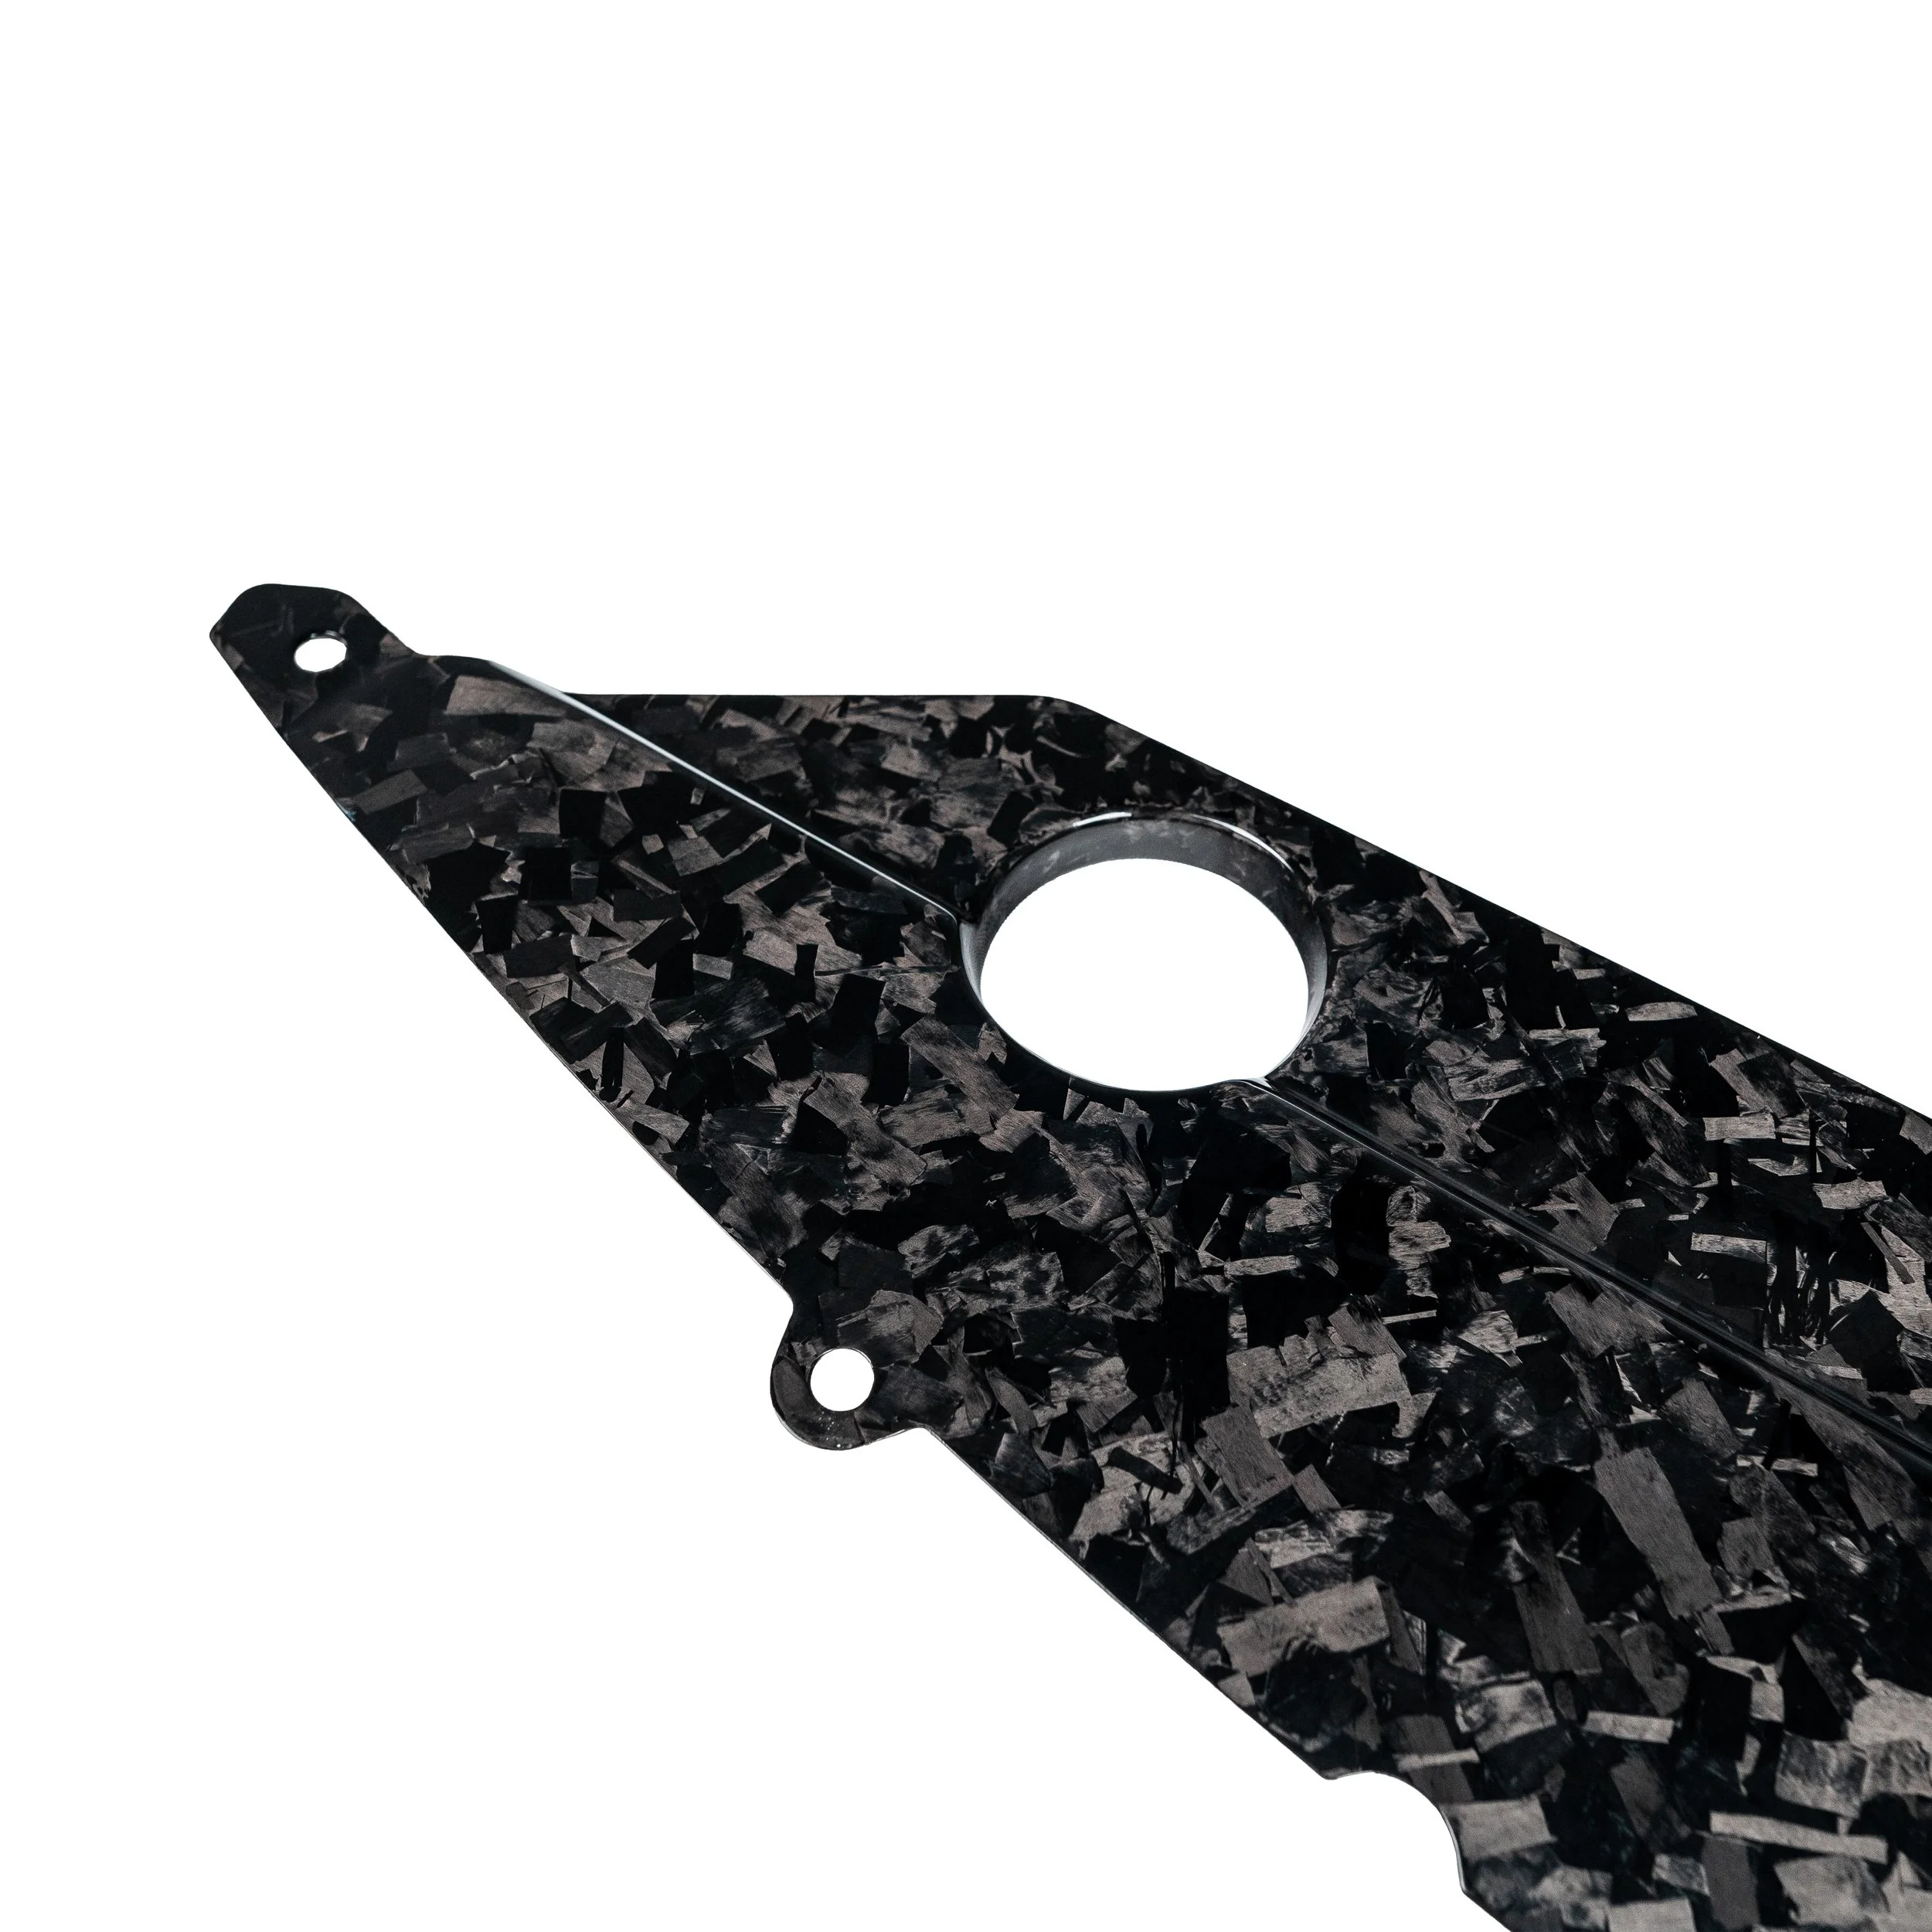
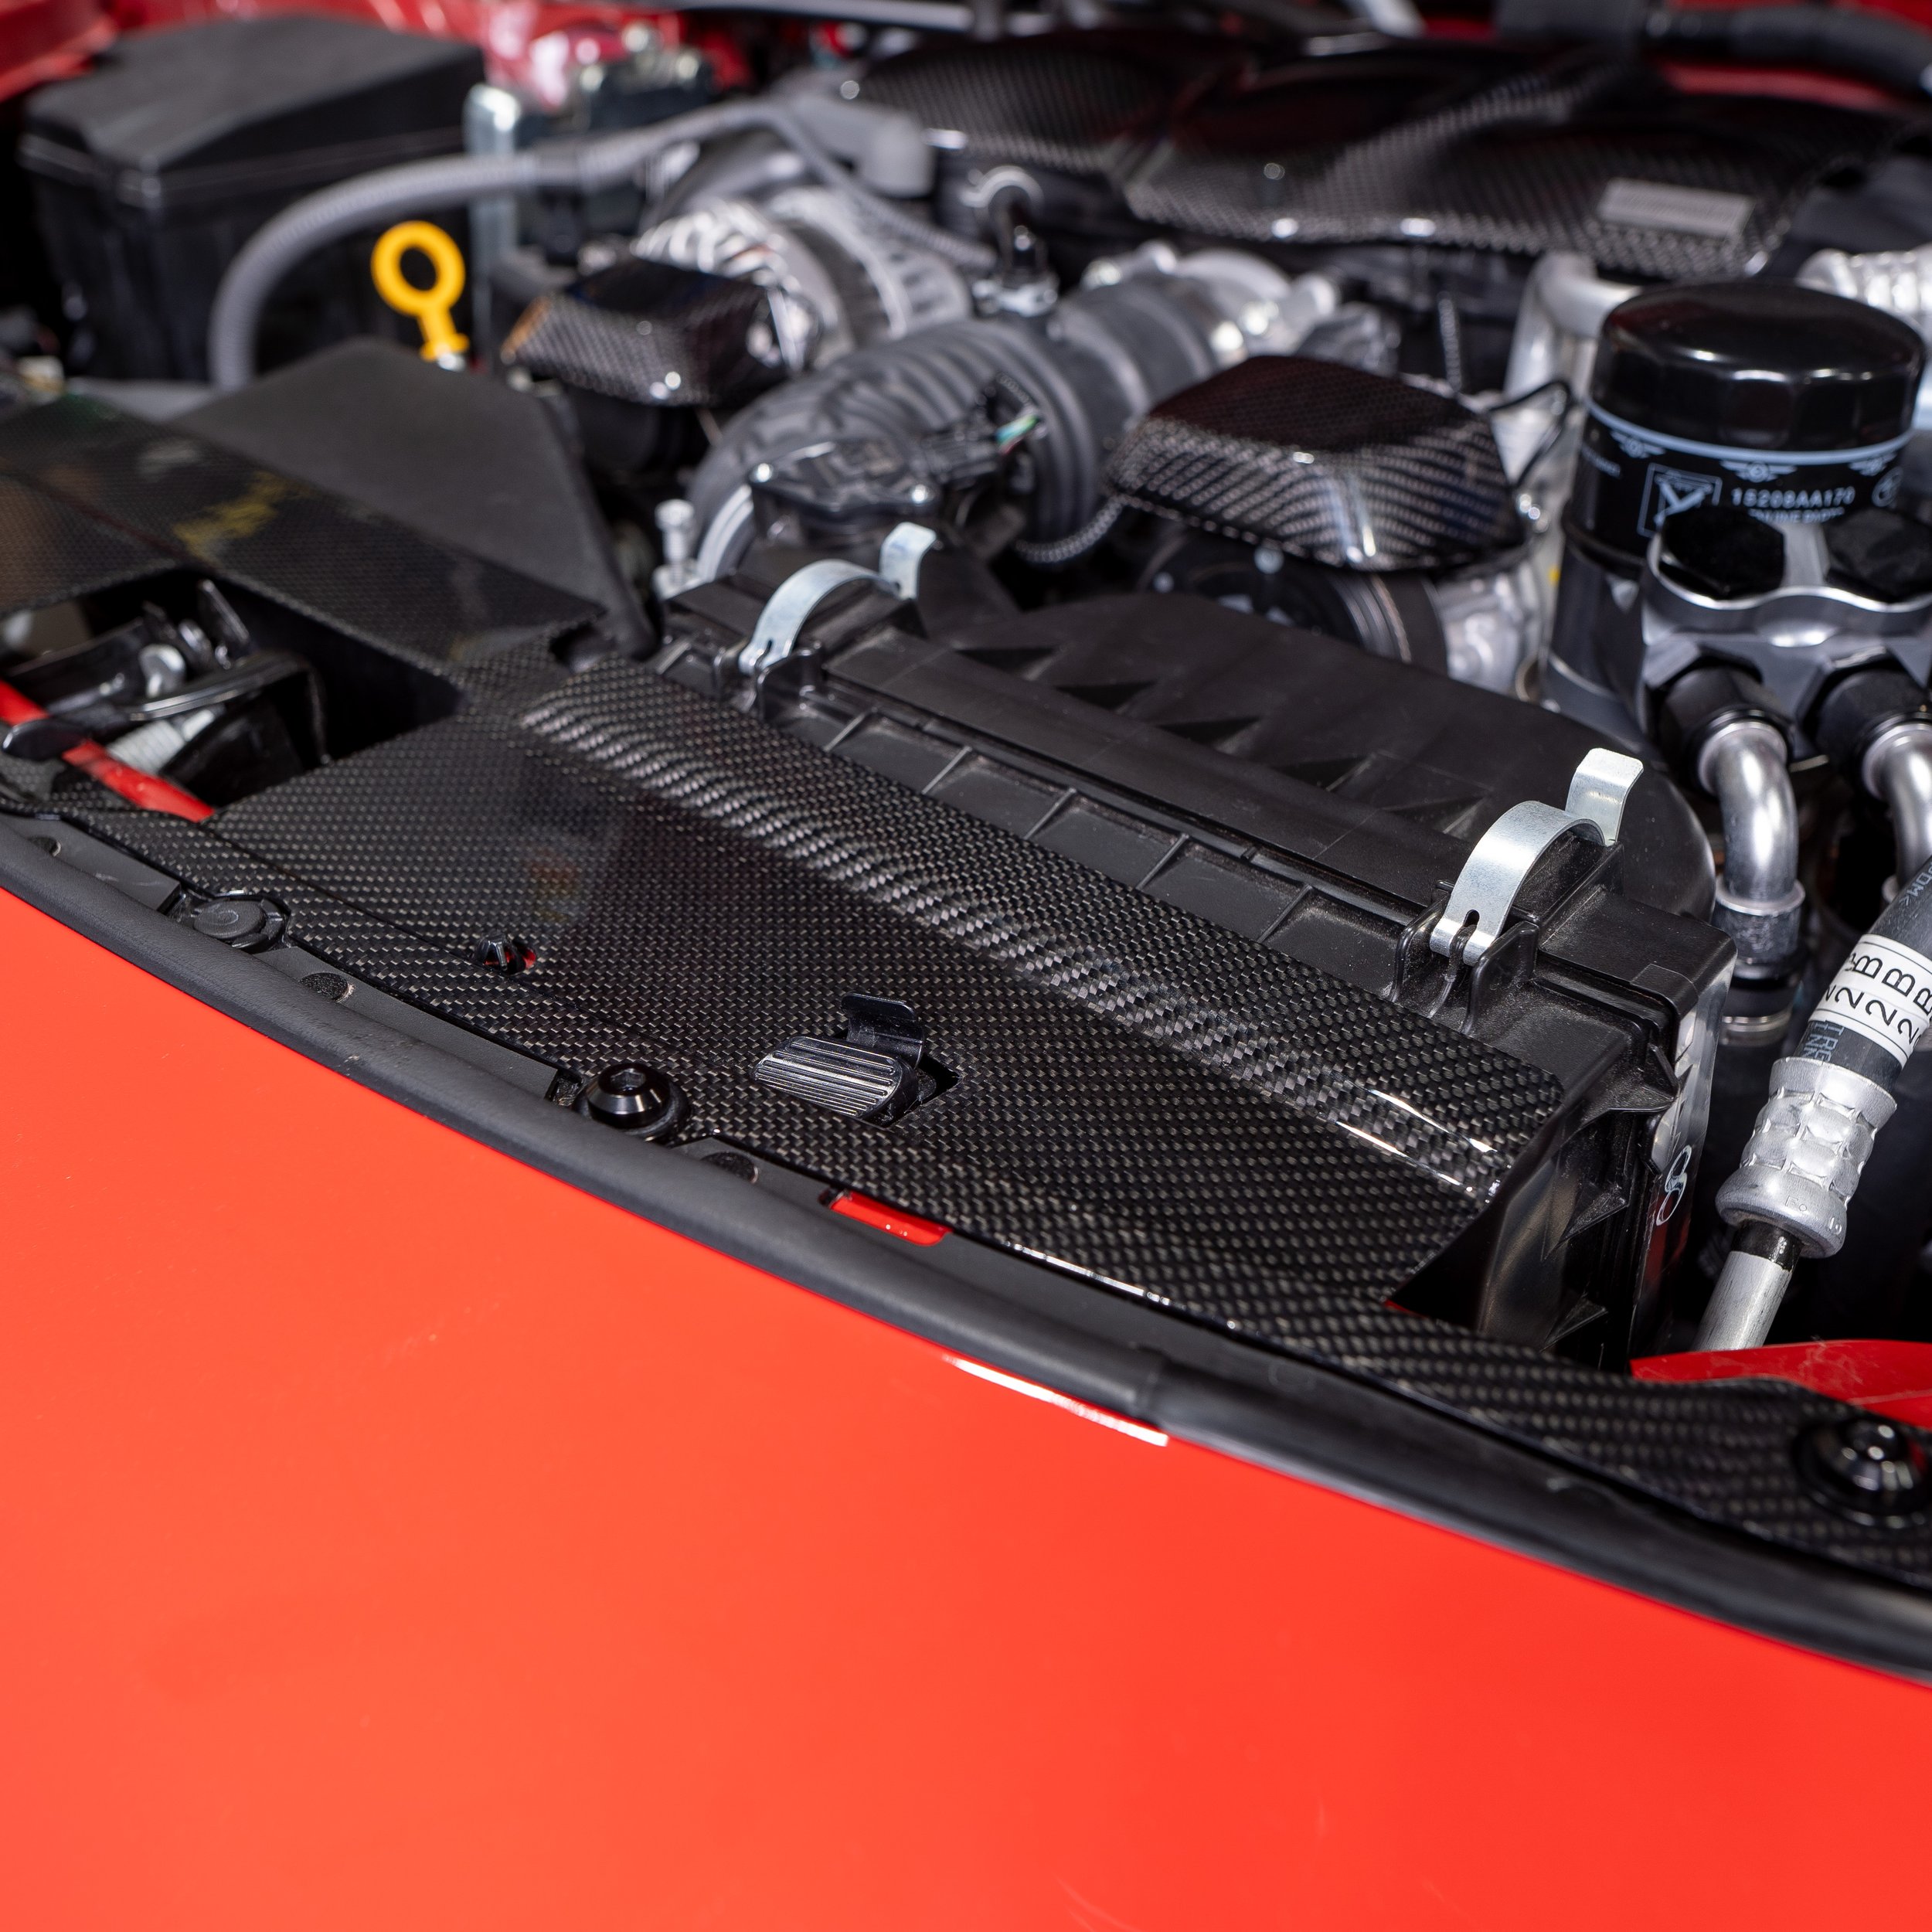
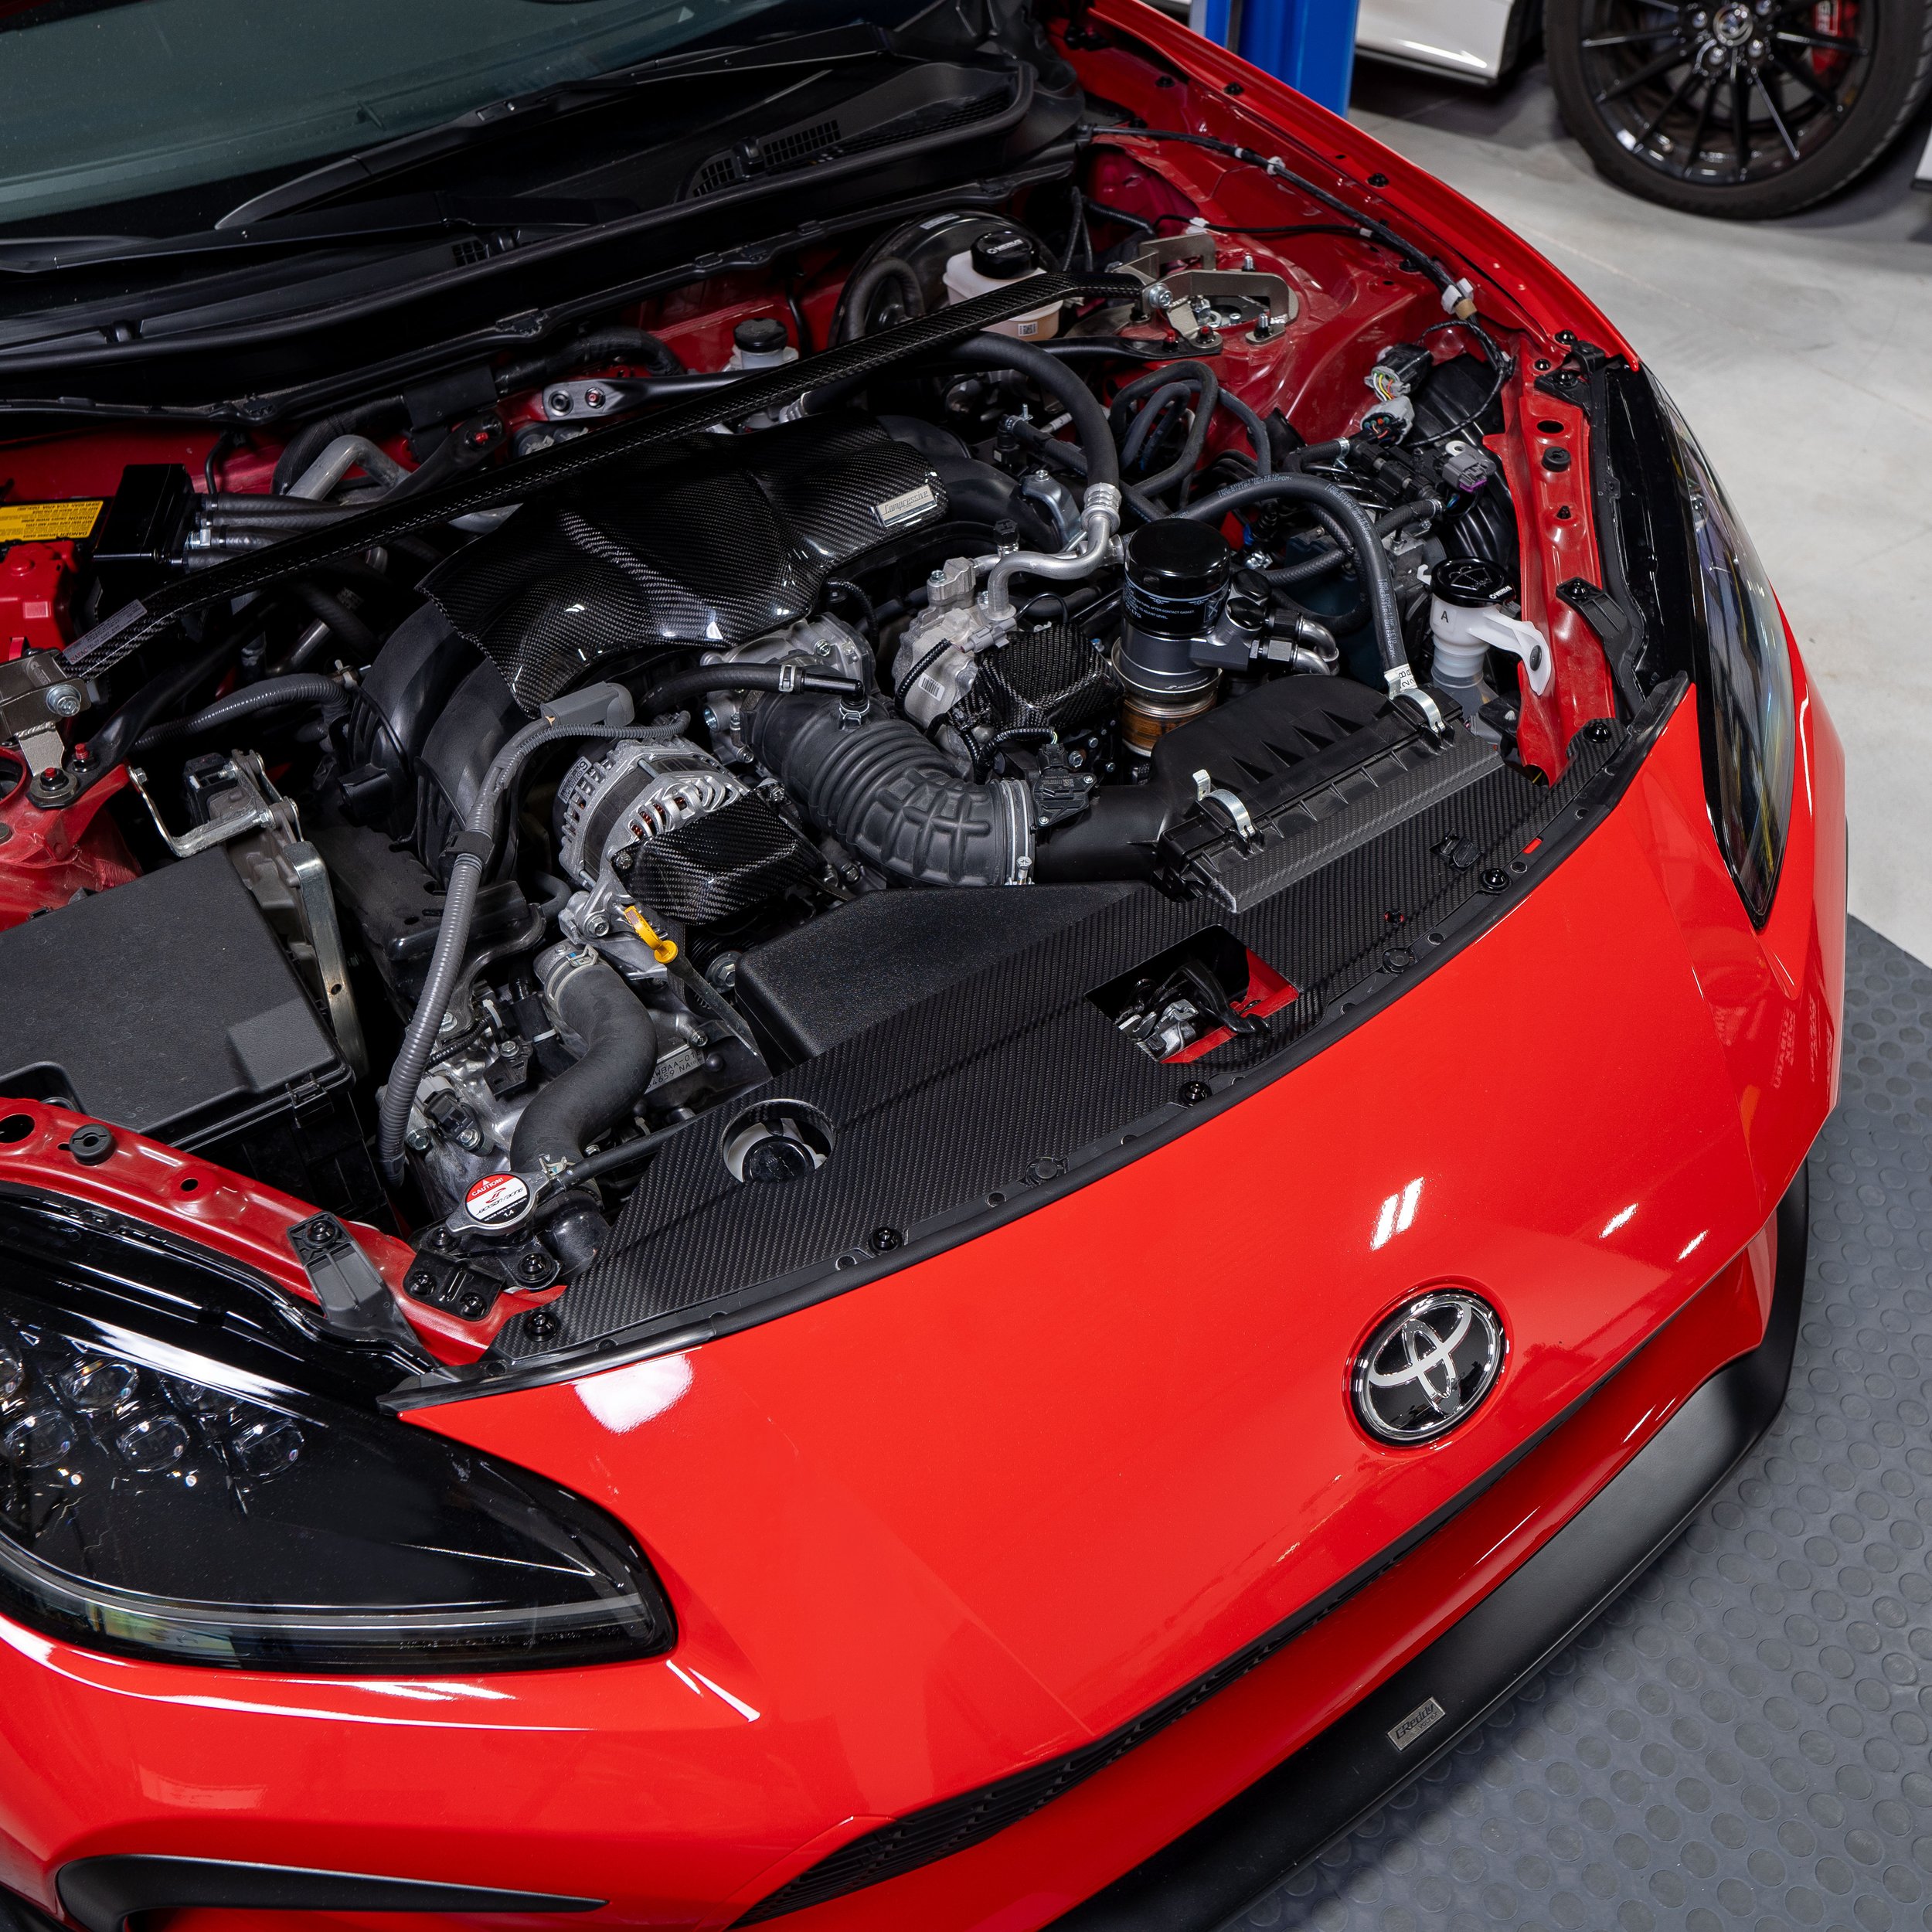
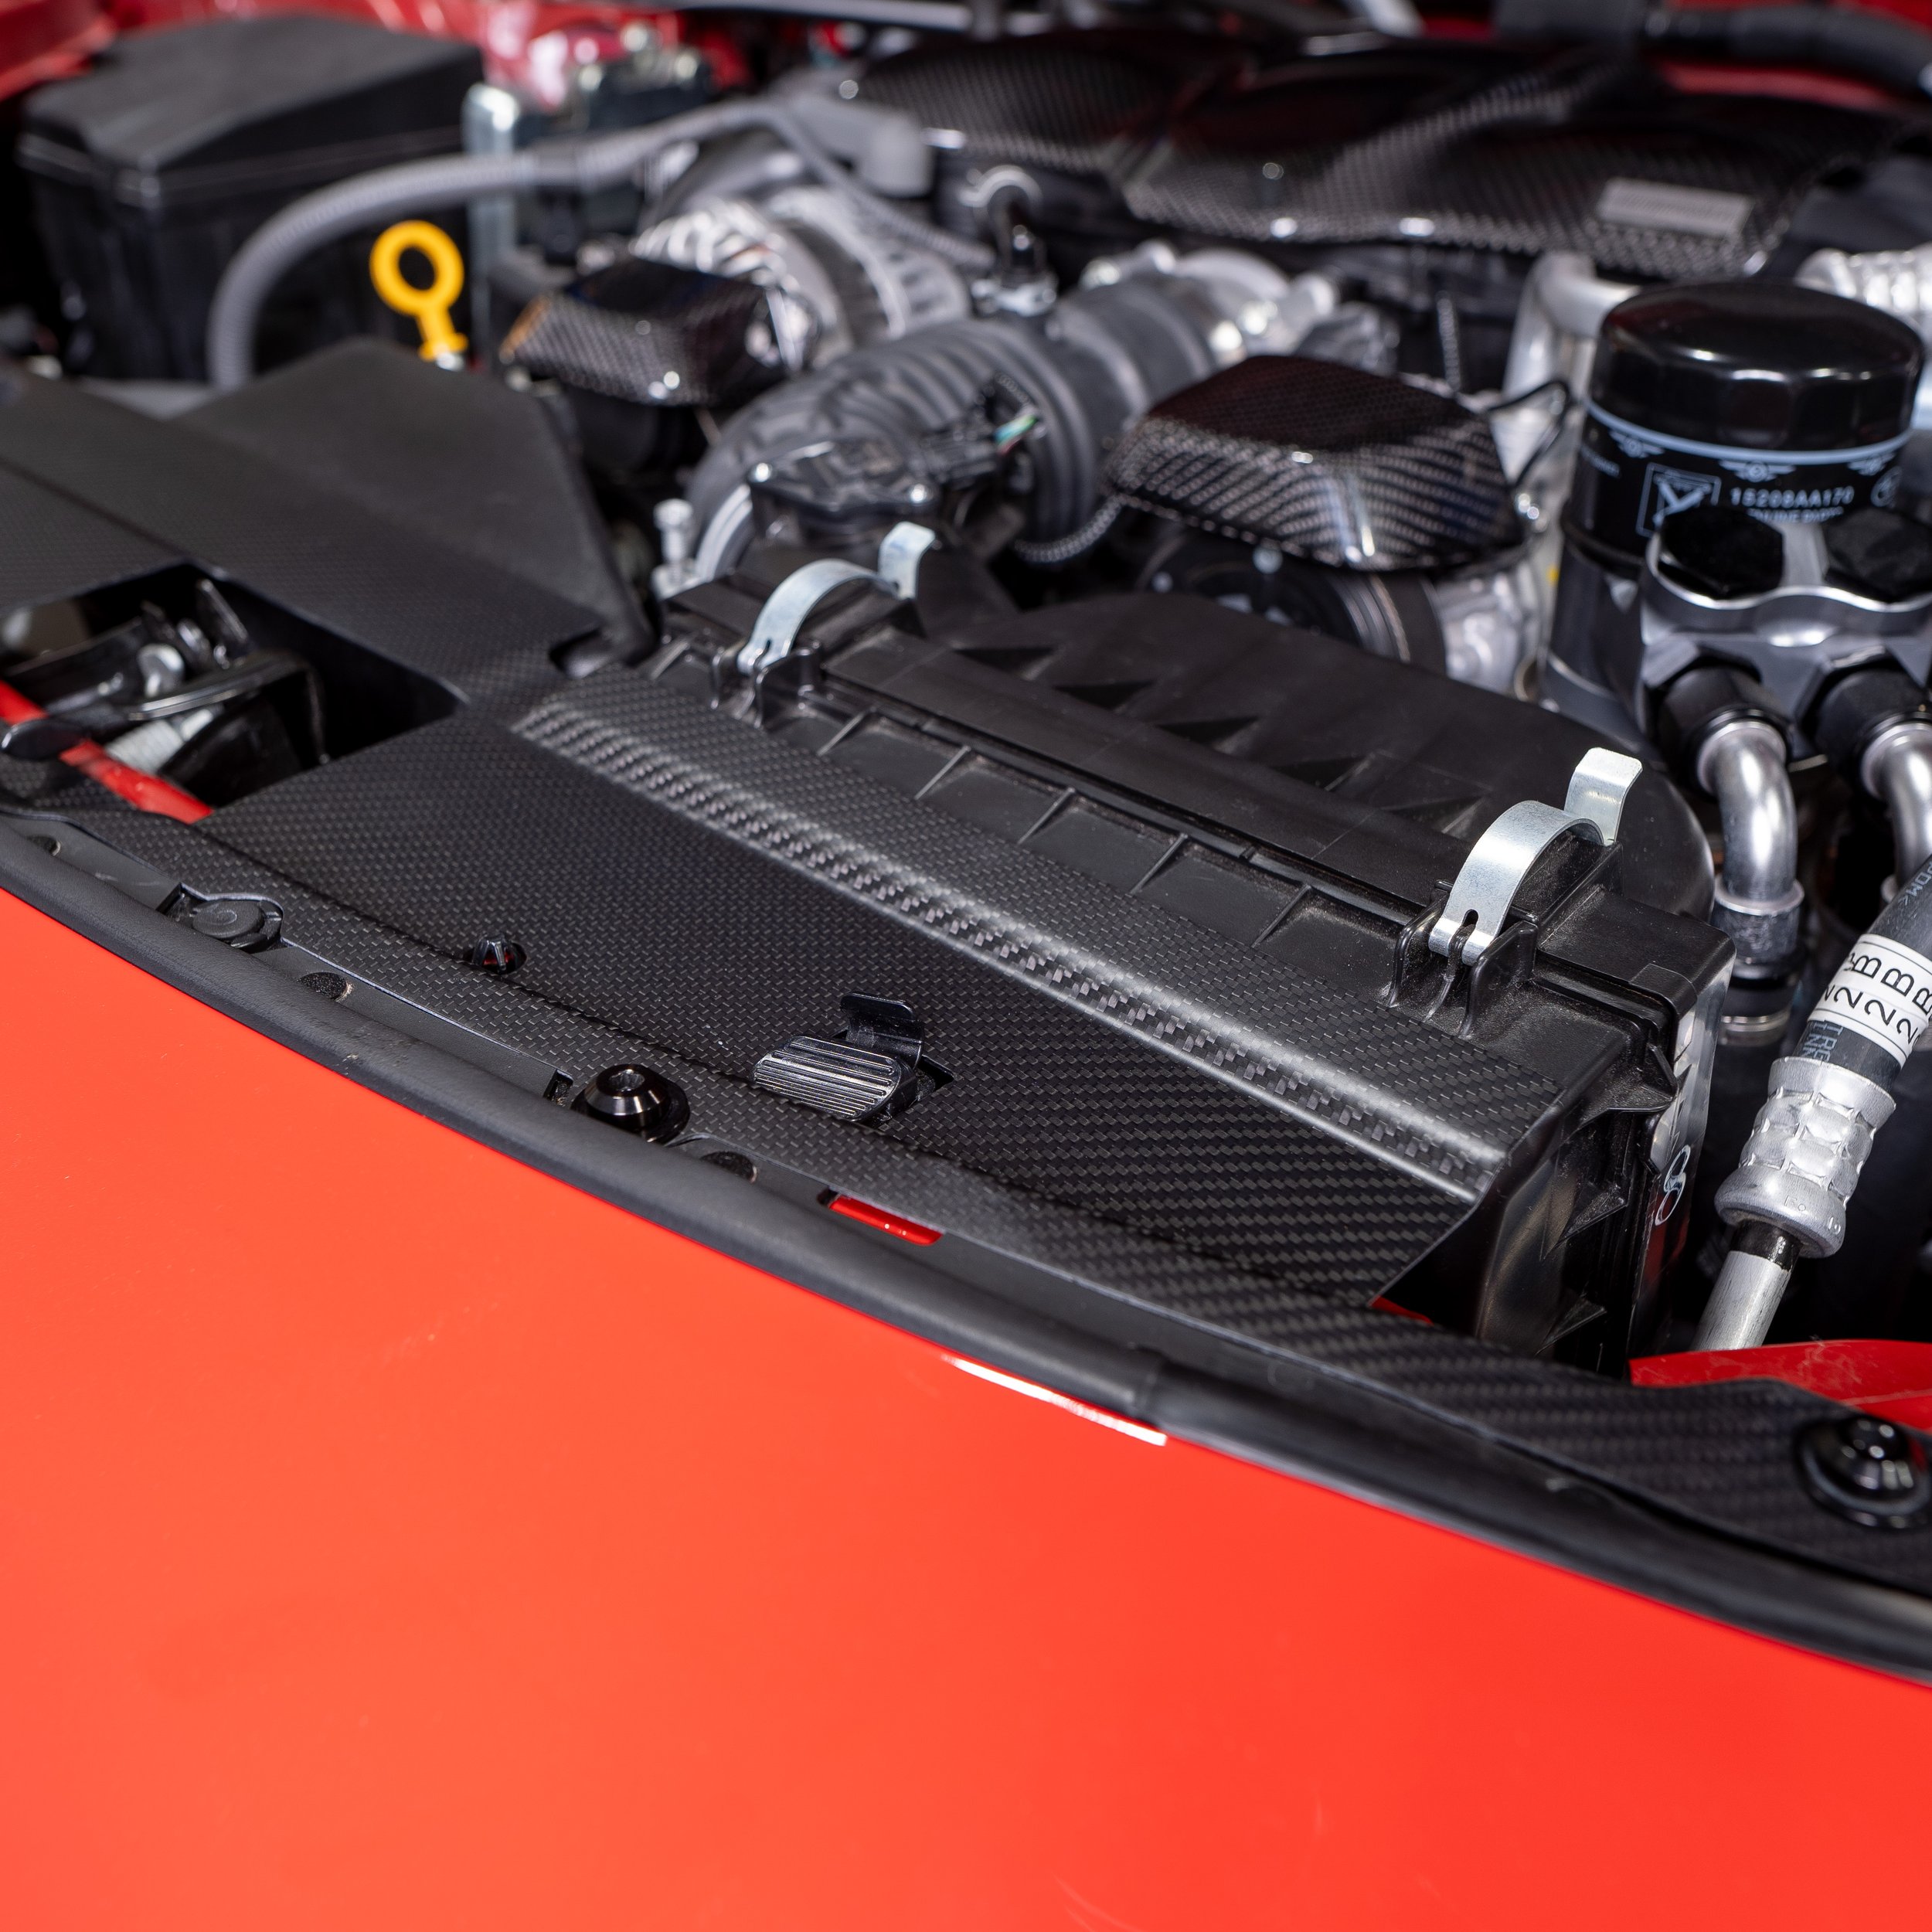
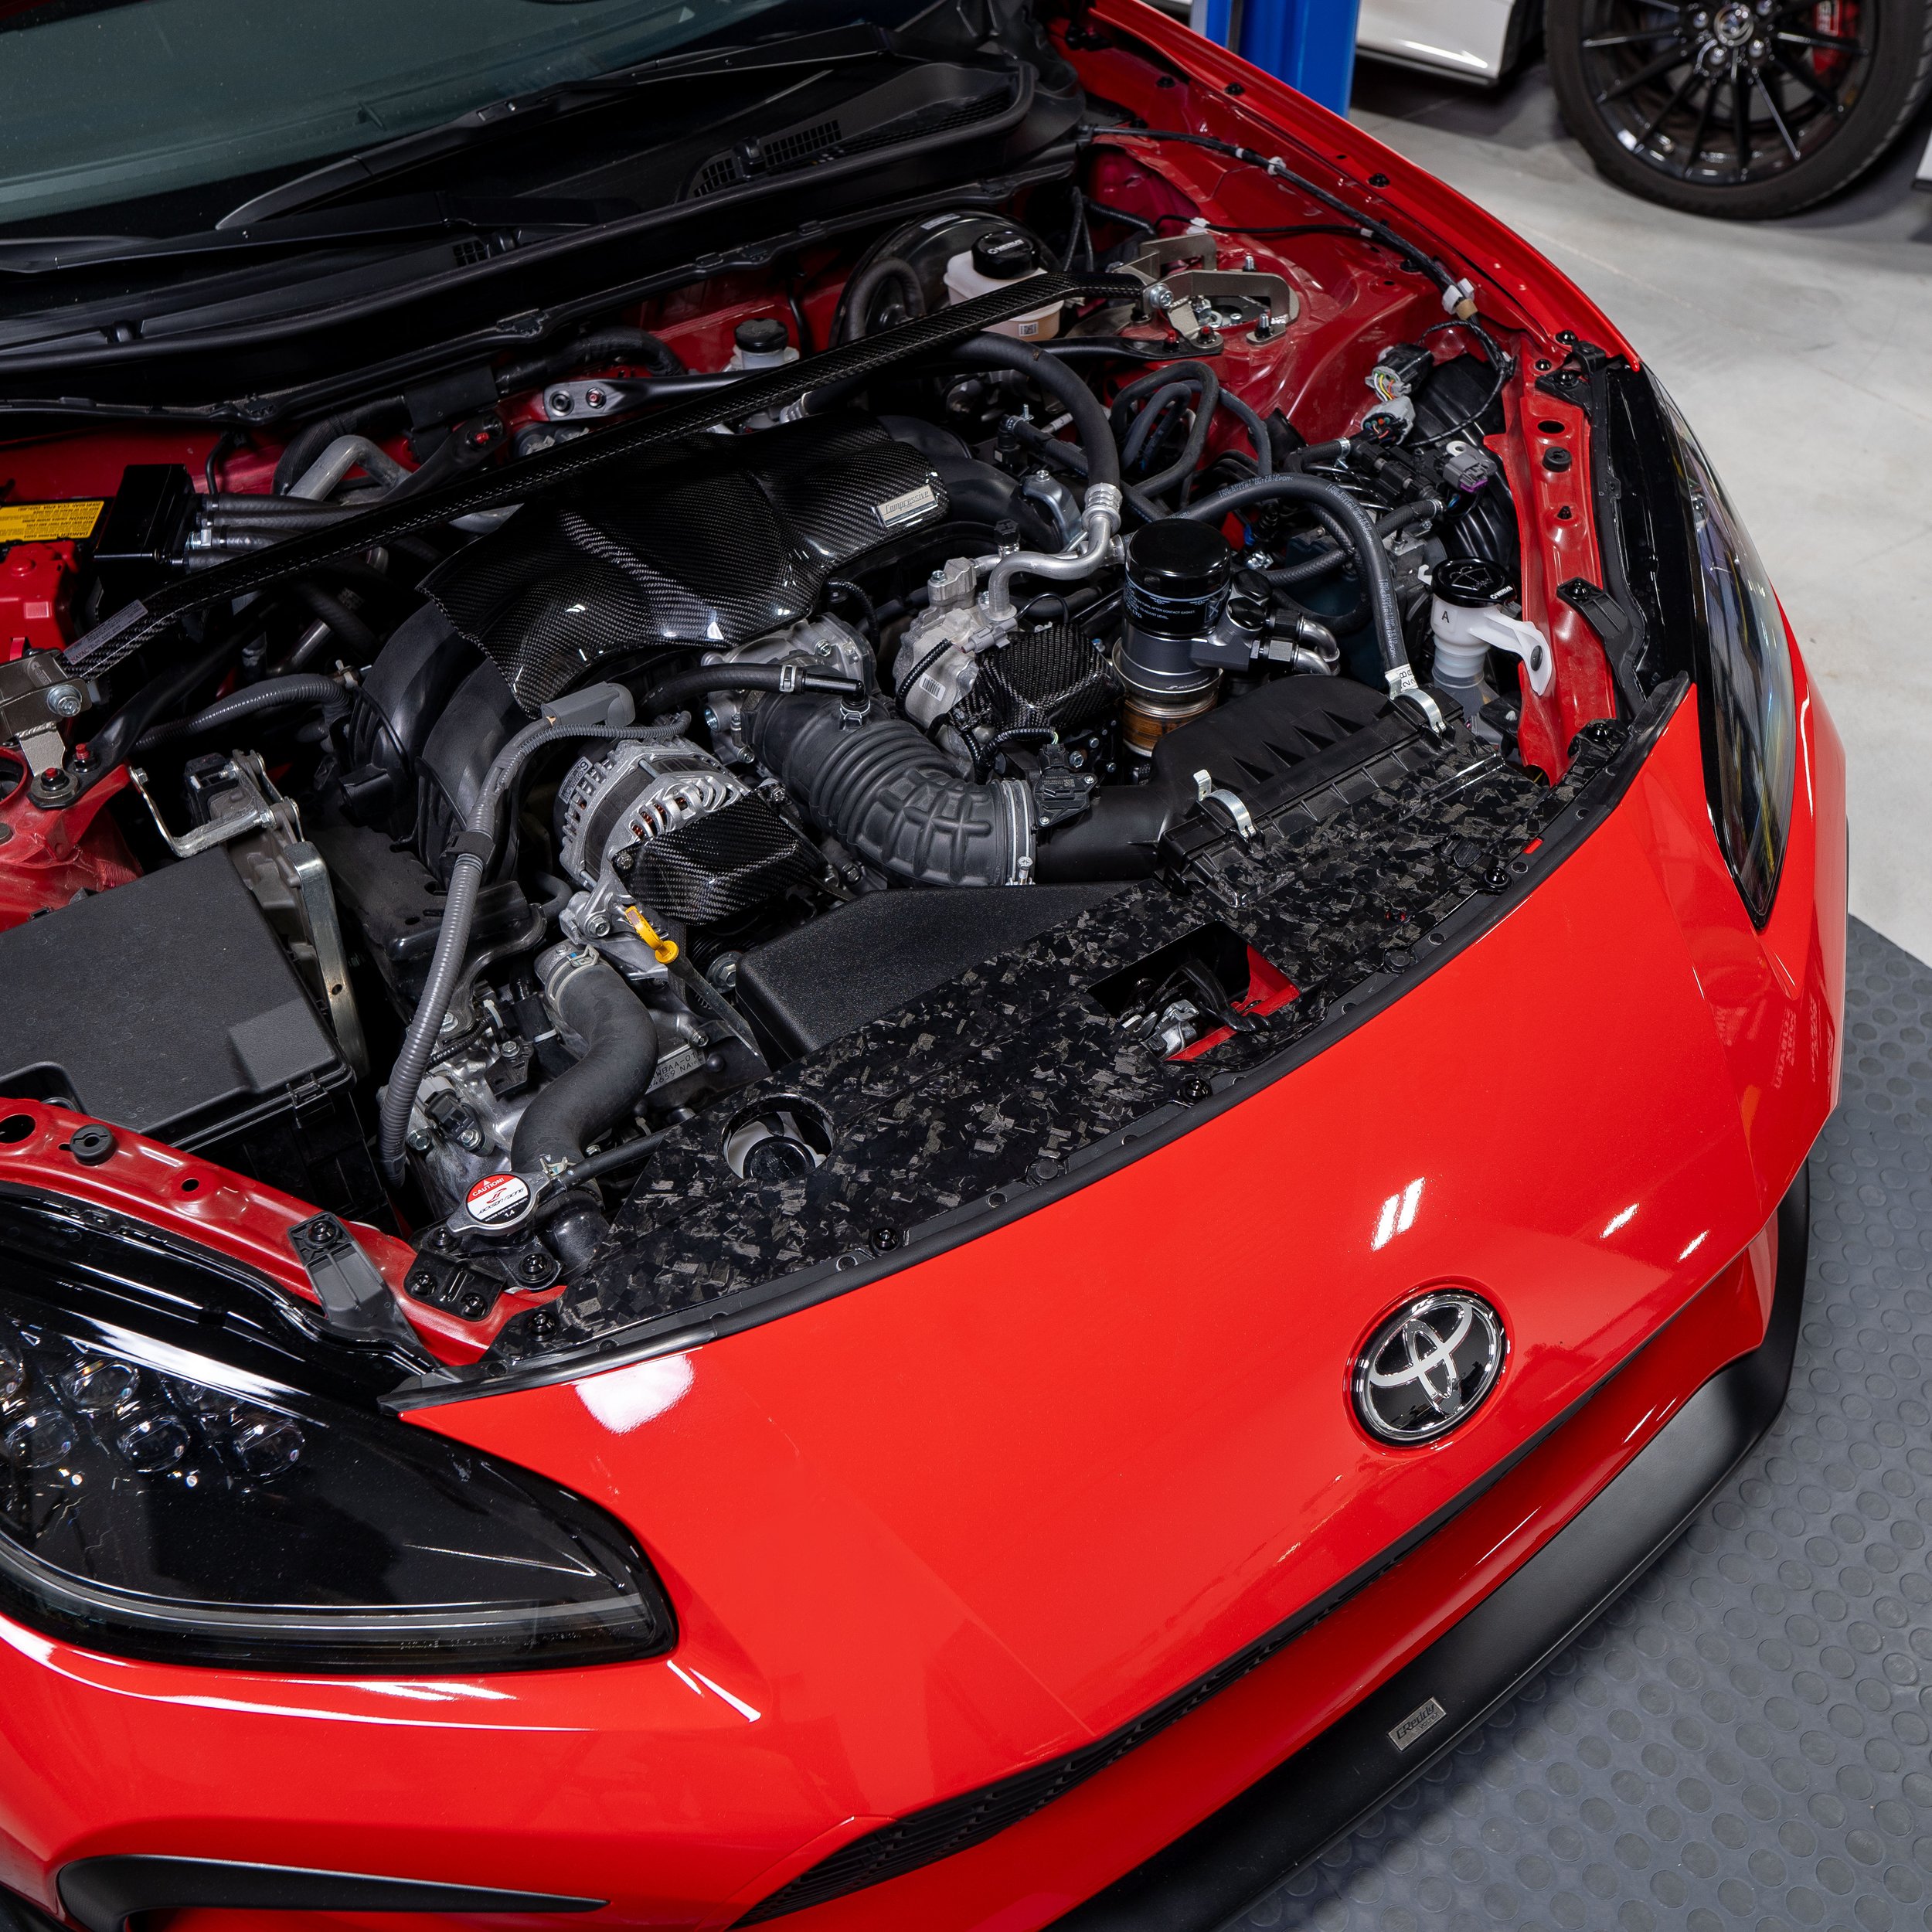
22+ GR86/BRZ Carbon Fiber Radiator Shroud
Made out of 100% Real Carbon Fiber
High-Gloss UV-Resistant Clear Coat
Molded using 3D scan to achieve perfect fitment
Quick and Simple Install
Made out of 100% Real Carbon Fiber
High-Gloss UV-Resistant Clear Coat
Molded using 3D scan to achieve perfect fitment
Quick and Simple Install
Made out of 100% Real Carbon Fiber
High-Gloss UV-Resistant Clear Coat
Molded using 3D scan to achieve perfect fitment
Quick and Simple Install
The engine bay on the 2022+ Toyota GR86 & Subaru BRZ leave a lot to be desired. There is a lot of matte plastic that likes to collect dust and just isn’t appealing. If you’re wanting to do a bit of engine bay dress-up, the Driven Media Carbon Fiber Radiator Shroud is the perfect addition! It installs, you guessed it, right above the radiator located at the front of the engine bay. Not only does it help to clean up the look of the engine bay with a beautifully crafted piece of carbon fiber that spans from headlight to headlight, but it can also help to improve the flow of air into your radiator which in turn improves the efficiency.
Driven Media Carbon Fiber Radiator Shroud
Make your engine bay stand our with this piece that is sure to catch your eye every single time you pop open that hood! Choose from the gloss, matte, or forged option and pair it up with a fusebox cover and the pulley covers to complete the look!
Installation Instructions
Using a 10mm socket and ratchet, remove the five 10mm bolts holding the hood seal in place on top of the front bumper.
Use a flathead screwdriver to remove the remaining two plastic pop clips.
Take some time to clean the area if you find there is some build up. That way it stays clean once you install the shroud.
There are two grey clips right in front of the stock airbox that you’ll need to push down so the shroud sits flush. These are attached to the hood latch cable and won’t go anywhere. You can zip tie the cable you choose.
Carefully guide the hood latch lever through the opening of the shroud and align the shroud using the holes.
Reinstall all the hardware you removed and ensure there are no clearance issues.


