
Installation Notes
Fully plug-and-play—no cutting or wiring modifications required.
Disconnect factory headlight plug and insert the DRL harness inline.
Ensure secure fitment of clips and harness connections before powering on.
All functions can be toggled using the headlight switch as described above.
How To Install Driven.Media GR86 Bezels
You can technically do this without removing the front bumper, it's just going to be a bit of struggle we believe is not worth. So for our install guide we'll be walking you through removing the bumper.
Step #1 - Remove The bumper
Step 1.1
Remove all hardware holding bumper in place.

Step 1.2
With all the fasteners and clips removed can go to wheel well of the car. Grab the bumper and pull away from the car to pop out of the bracket. At this point also be sure to disconnect the sidemarkers.

Step 1.3
Repeat on otherside

Step 1.4
Pull bumper fully off - best to pull directly straight out while in front of car.

Step # 2 - Removing air shield & OEM Bezel
step 2.1
On the backside of the bumper remove the two clips holding the bezel to the air shield

Step 2.2
Remove the remaining clips on the the air shield to be able to freely remove it all together

Step 2.3
Now that the backside of the bezel and all of it's tabs are exposed we will remove the bezel all together by starting at the furthest most inward tab working outwards.
Note: easiest to have one hand pushing tab out and other on the otherside of bumper to keep pressure so that the tabs don't slide back in by accident.

Step 2.4
Repeat on other side
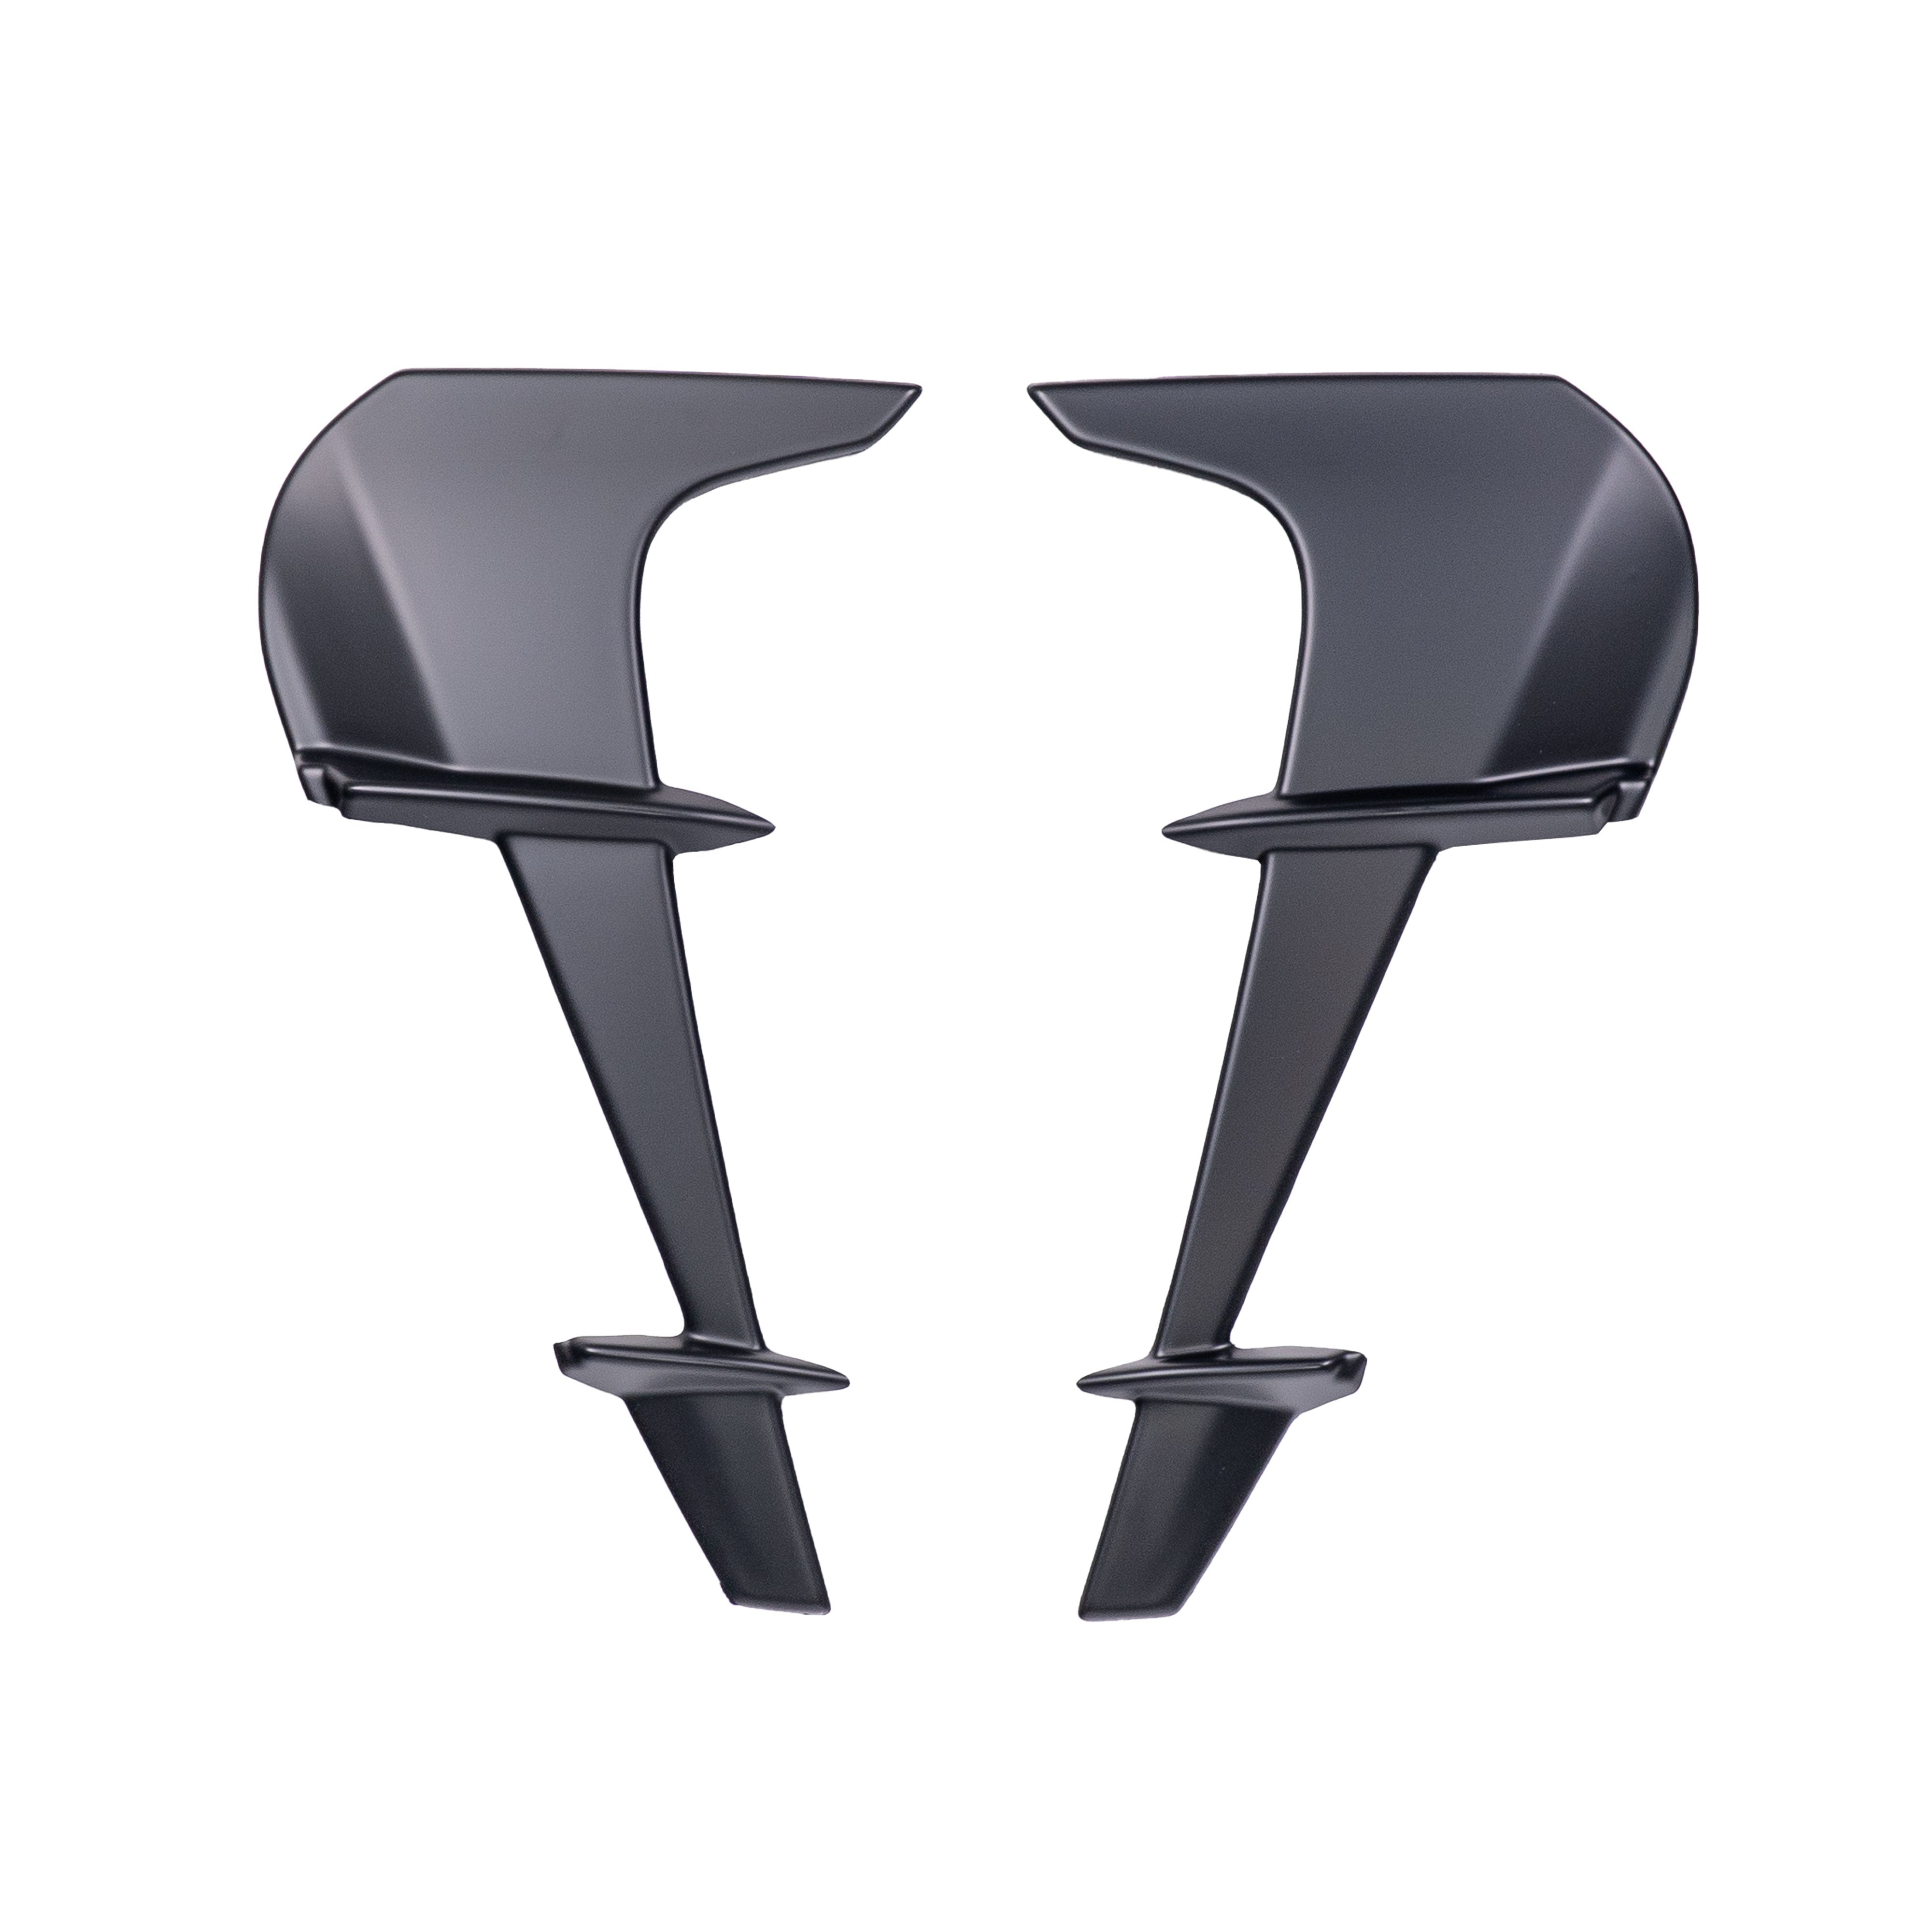
Step #3 - Installing Driven.Media LED DRL Bezel
Step 3.1
Route harness through the top hole of bezel area see photo below

Step 3.2
Lineup tabs and slide bezel into place. Firmly press bezel into bumper and once you hear click that tab is in place. After all in place look at the backside of the bumper to see that all the tabs are fitted.

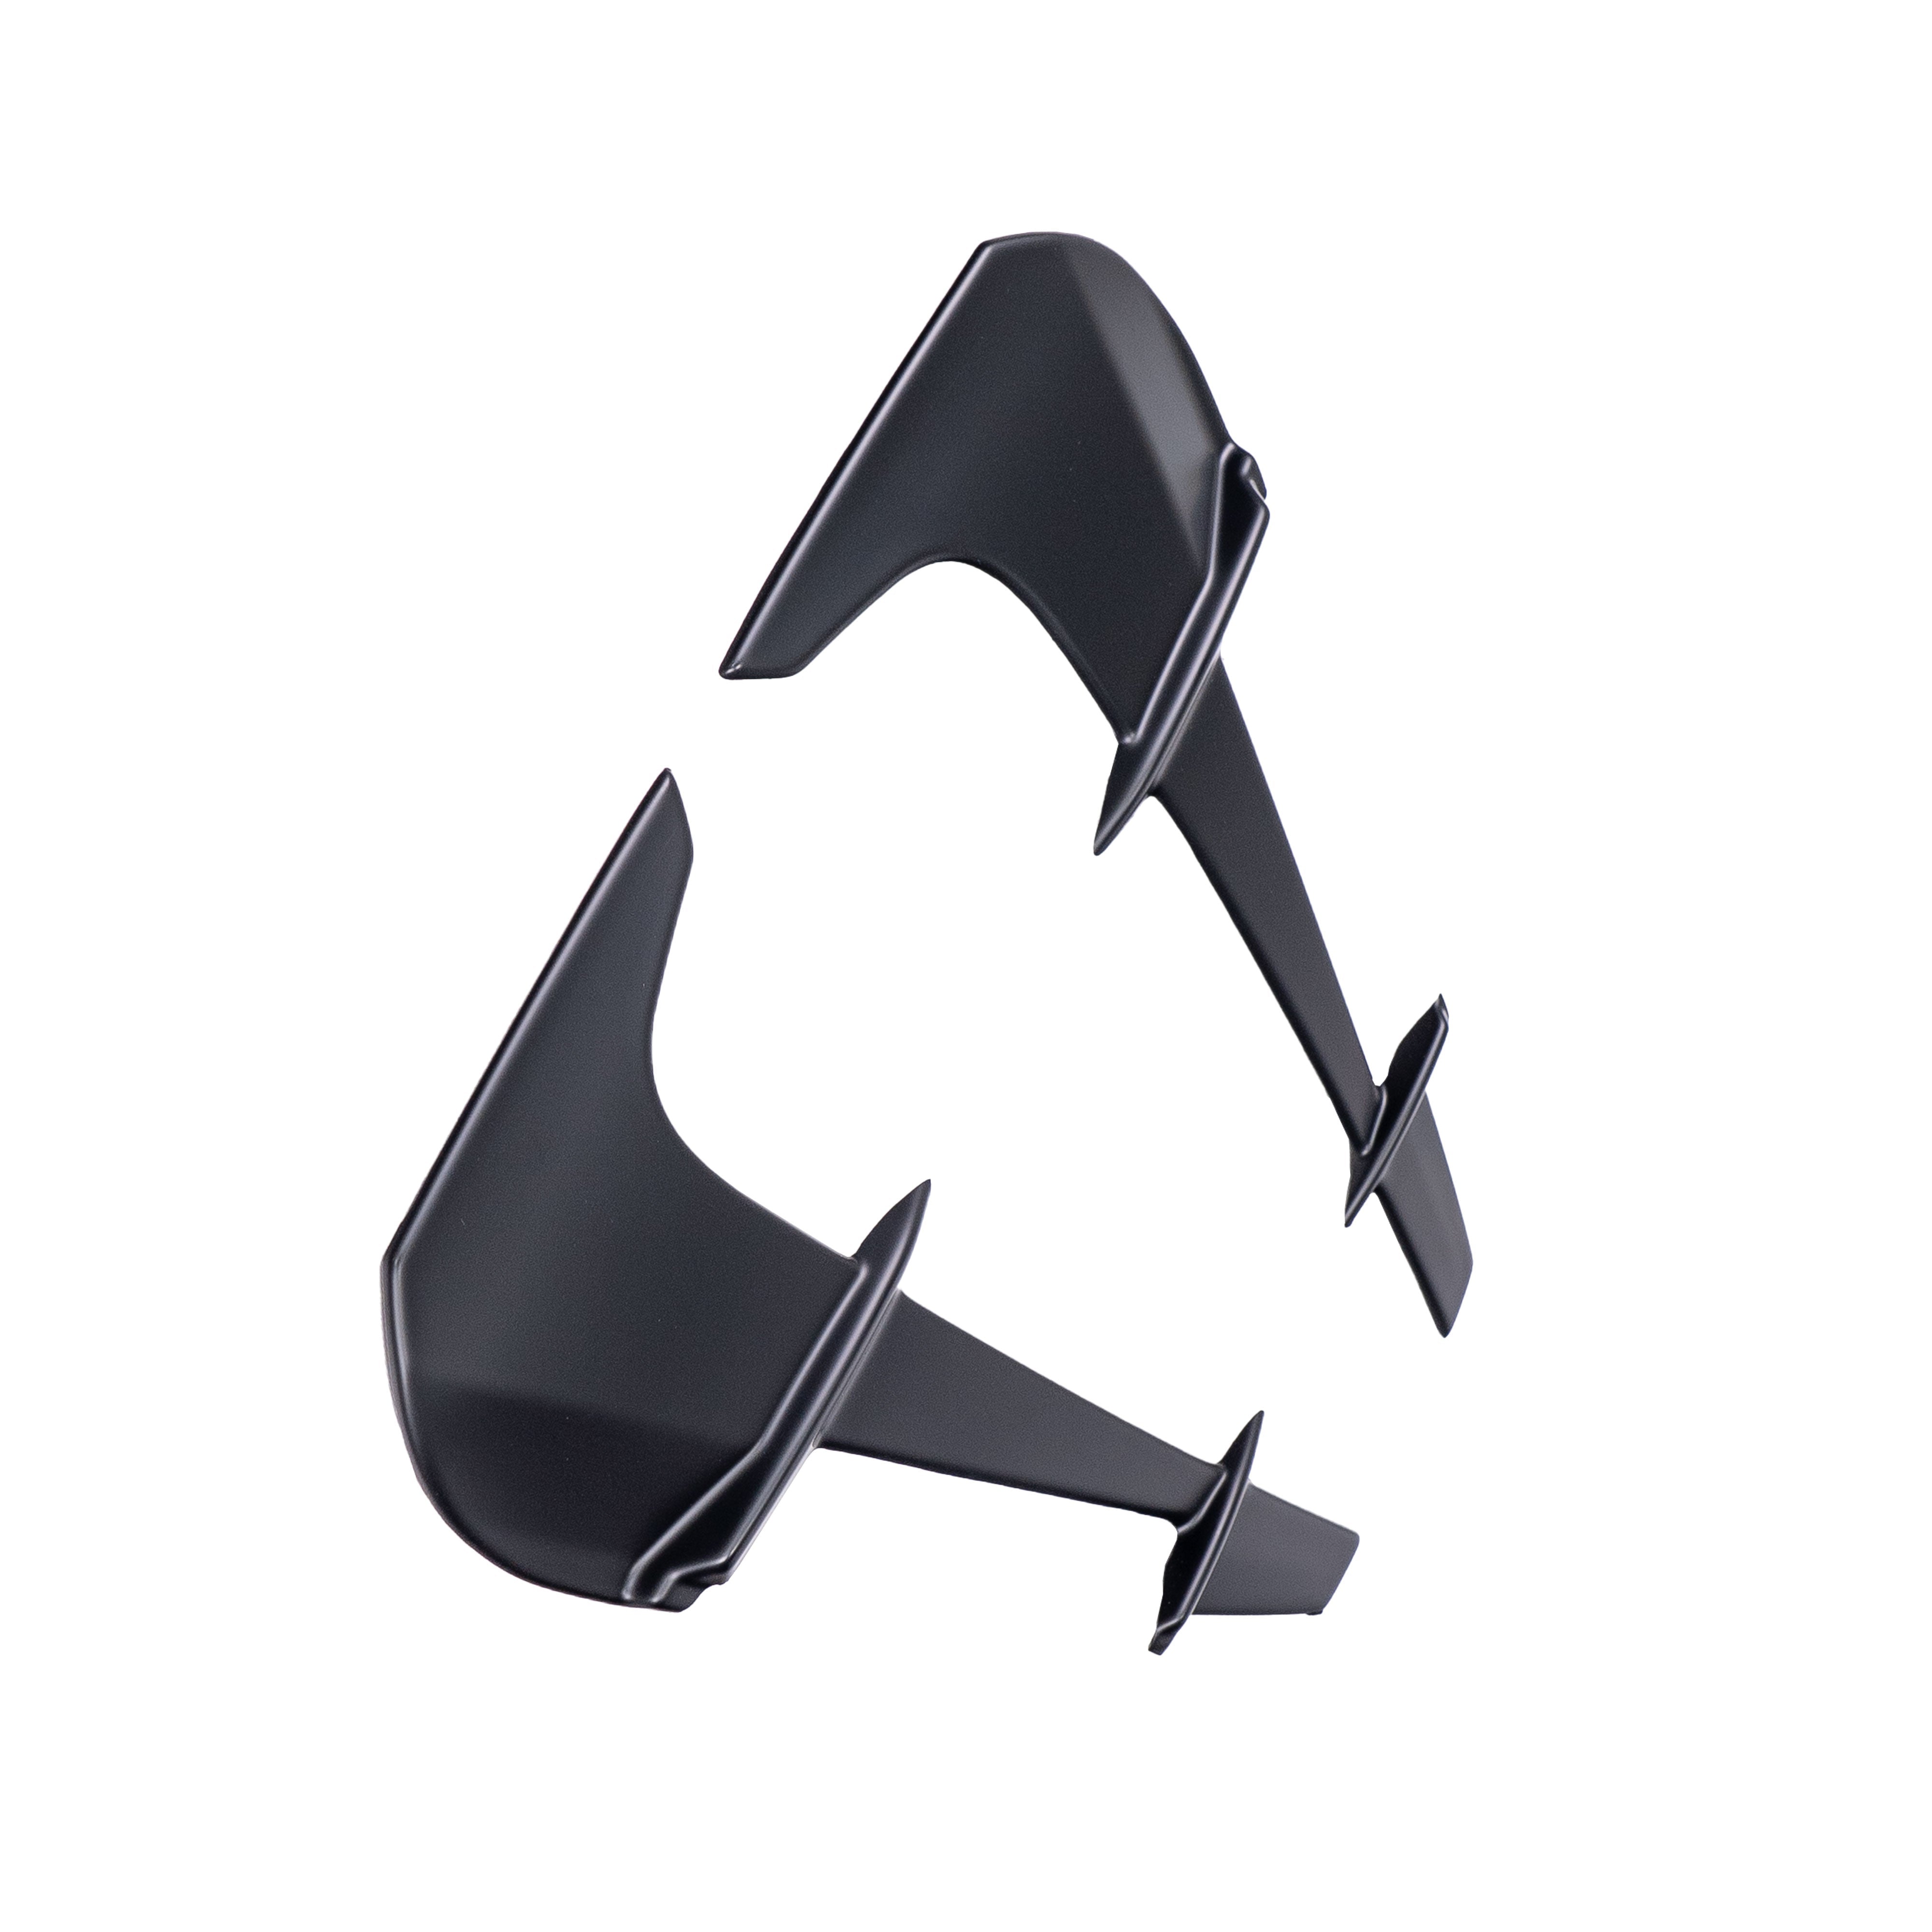
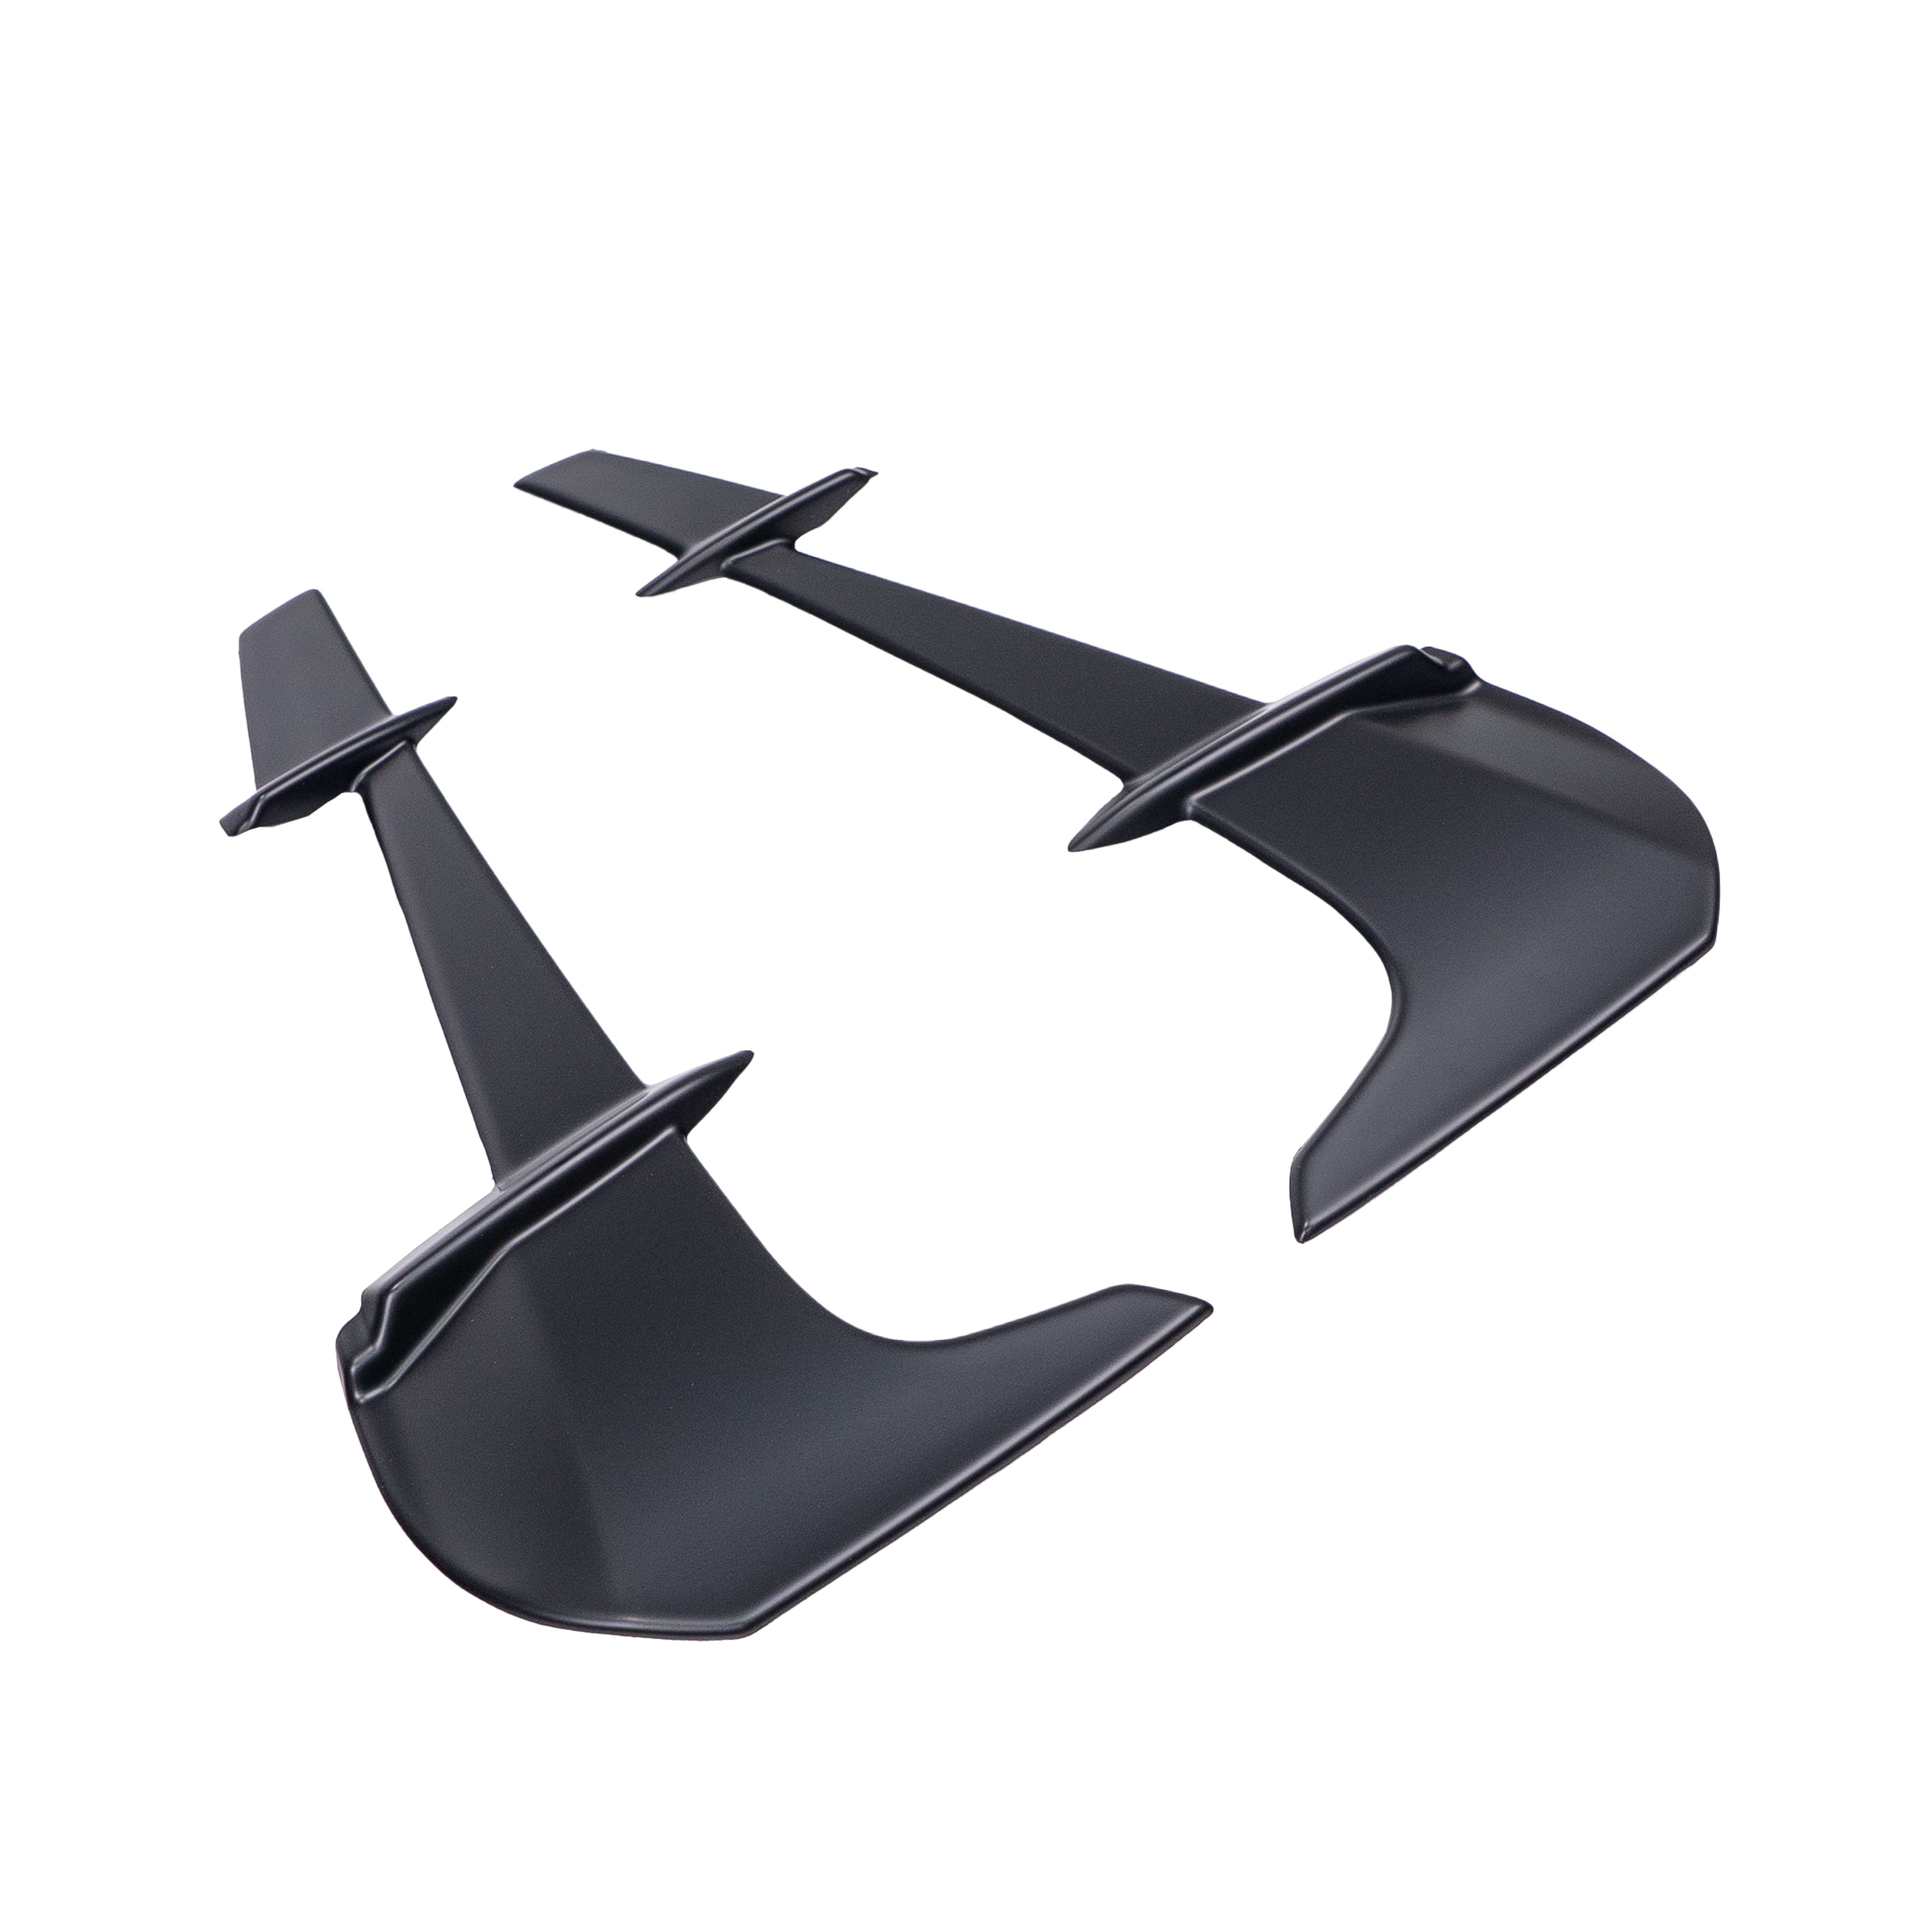
3.3 Reinstall air deflectors the same way we uninstalled them

Step 3.4
Repeat on other side
Step #4 - Plug & Play Harness Install
Step 4.1
Starting on drivers side, the headlight connector is right next to the windshield washer fluid filler neck. On the bottom of headlight connector theres a tab that needs compressed and Kevin likes to use a flat head screwdriver to help safely remove the harness

Step 4.2
Now with the connectors, disconnected we can install the included harness by using it's corresponding connectors. There's one that plugs into the harness and another end that plugs into the headlight.
Harnesses really only go one way so can't really mess up!

Step 4.3
Now route the bezel plug-in portion of the harness down towards the bezel area through the available gap

Step 4.4
Now we connect the harness with our installed bezels with a simple click

Step 4.5
Repeat on other side
Step #5 - Reinstall bumper & Enjoy!

Lighting Function Controls
All functions can be toggled directly using your headlight switch while the car is on and the parking brake is disengaged:
Headlights ON/OFF 3 times – Toggle startup sequence ON/OFF
Headlights ON/OFF 5 times – Toggle sequential turn signals ON/OFF
Headlights ON/OFF 7 times – Toggle amber DRLs ON/OFF
Headlights ON/OFF 9 times – Reset all functions to default


Share:
New Products November 2025 | Black Friday & GR86 DRL Bezel
New Products February 2026