
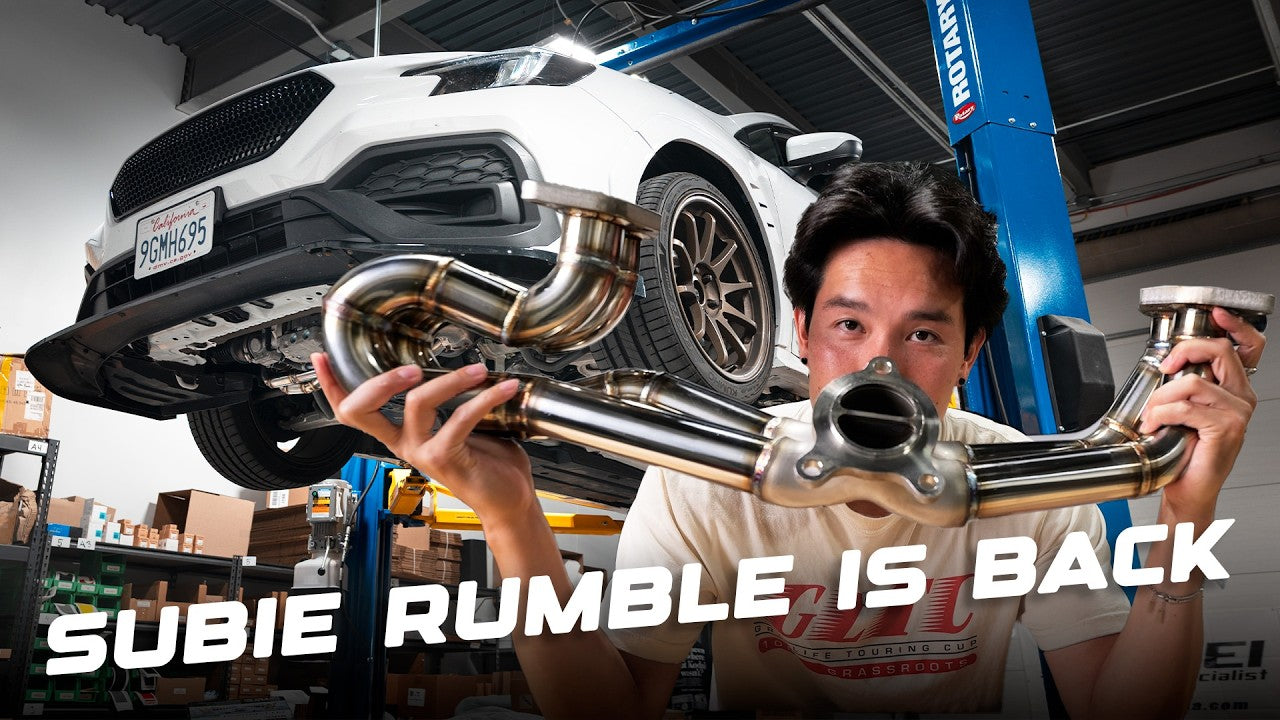
How to Install an Aftermarket Header
Installing an aftermarket header is one of those upgrades that can make a major difference in exhaust flow, turbo response, and overall performance when paired with the proper supporting modifications and tuning. While the install itself is fairly straightforward, exhaust hardware can be stubborn due to heat cycles, corrosion, and age.
This guide walks through the basic header installation process, the tools required, torque specs, and what to do if one of the factory studs breaks during removal.
What Comes With the Header
- Header
- New gaskets
- New studs
- New nuts
Tools Required
- 12mm socket
- 14mm socket
- E10 Torx socket
- Socket Extensions
- Pop clip pliers, optional but a huge help
Additional Tools If Exhaust Studs Break
Broken exhaust studs are not uncommon, especially on cars that have seen years of heat cycles or winter driving. If a stud breaks during removal, having the right repair tools on hand can save the install.
- Bolt Extractor
- Cobalt drill bits
- Tap kit
- Helicoil kit, or equivalent thread repair kit
- Cutting oil
How to Repair a Broken or Stuck Exhaust Stud
If one of the factory studs snaps or becomes stuck, do not force it further. Take your time and repair the threaded hole properly before installing the new header.
- Drill out the stuck or broken stud using a cobalt drill bit and cutting oil.
- Use a tap to chase or restore the factory threads if possible.
- If the threads are too damaged to save, drill the hole to the size recommended by your helicoil kit.
- Tap the hole with the thread size required for the helicoil insert.
- Install the helicoil insert into the repaired hole.
- Break off the tang once the insert is fully seated.
- The threaded hole is now repaired and ready for the new stud or hardware.
When done correctly, a helicoil repair creates a strong, clean threaded hole that is ready for reassembly.
Header Installation Steps
Step 1: Remove the Skid Plate
Start by removing the factory skid plate underneath the car. The skid plate is held in place with 12mm bolts.
Once the bolts are removed, set the skid plate and hardware aside so they can be reinstalled after the header is complete.

Step 2: Remove the OEM Header
With the skid plate out of the way, remove the factory header from the engine block and turbo.
- Remove the six 14mm nuts holding the OEM header to the engine block.
- Remove the three 14mm nuts holding the OEM header to the turbo.
Because this hardware sees extreme heat, it is a good idea to work carefully and avoid rushing removal. If hardware feels seized, stop and address it before breaking a stud.
Step 3: Install New Studs and Gaskets
Before installing the new header, install the new studs and position the new gaskets.
Make sure all sealing surfaces are clean and free from old gasket material, carbon buildup, or debris. A clean sealing surface is critical for preventing exhaust leaks.

Step 4: Install the New Header
Carefully position the new header onto the studs and gaskets.
Start all nuts by hand before tightening anything down. This helps prevent cross-threading and allows the header to seat evenly against the gaskets.

Step 5: Tighten and Torque the Hardware
Once all hardware has been started by hand, tighten everything evenly before final torque.

Torque Specs
- Header to engine block: six nuts torqued to 49 ft-lbs
- Header to turbo: three nuts torqued to 35 ft-lbs
Use an even tightening pattern whenever possible to help the gaskets compress properly and reduce the chance of leaks.
Final Checks
Before starting the car, go back through the install and confirm everything is properly tightened and torqued.
- Confirm all header hardware is torqued to spec.
- Make sure all tools are removed from the engine bay and underbody.
- Check that no wiring, hoses, or heat-sensitive components are touching the header.
- Reinstall the skid plate.
After the first heat cycle, allow the exhaust to cool completely and recheck any accessible hardware. New gaskets and exhaust components can settle slightly after their first expansion and contraction cycle.
Final Thoughts
An aftermarket header is a great upgrade for improving exhaust flow and supporting additional performance modifications. The biggest key to a smooth install is preparation: have the correct tools, use fresh gaskets and hardware, and be ready to repair any damaged or broken studs if needed.
Take your time, torque everything properly, and you will be left with a clean, reliable install that is ready for more power.

Share:
22+ GR86/BRZ Billetworkz Door Handle Pull Strap Install
Exhaust Bible | Stock GR86 Exhaust